Before using the btibAWS IoT you must first have an AWS account, follow this link to do so: https://aws.amazon.com/premiumsupport/knowledge-center/create-and-activate-aws-account/
Setup API Key
Niagara needs an api key to access AWS IoT Services and manage devices:
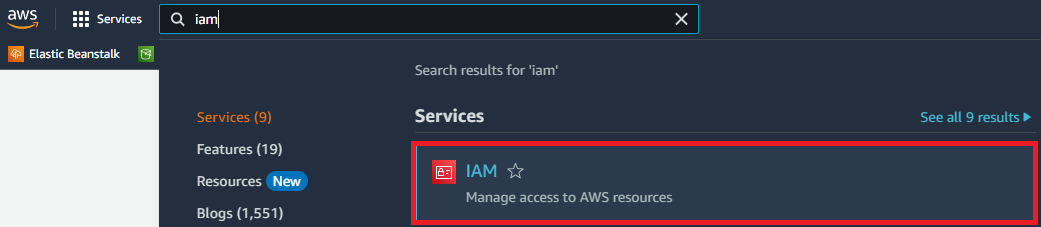
- Go to the IAM page on the AWS console.
- Then Users

- Click Add User button

- Give your username, then click next.

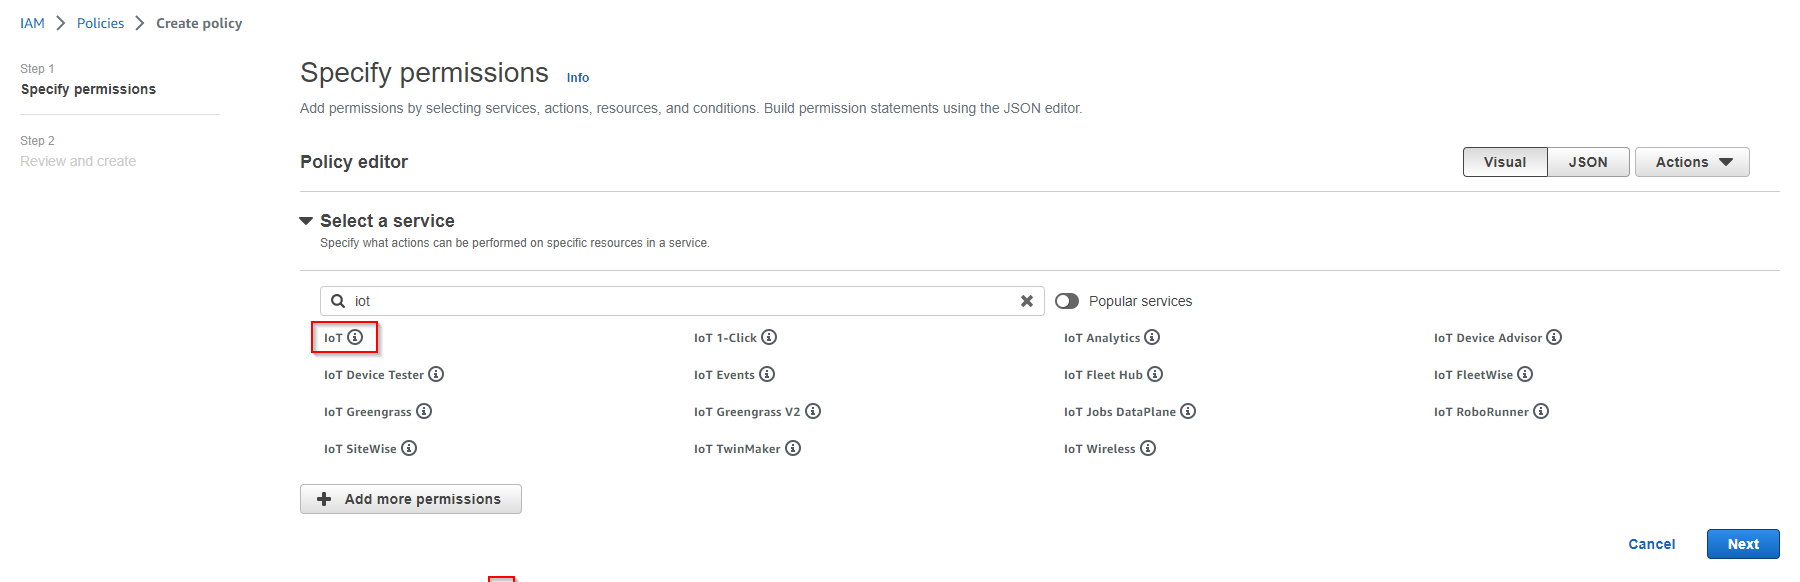
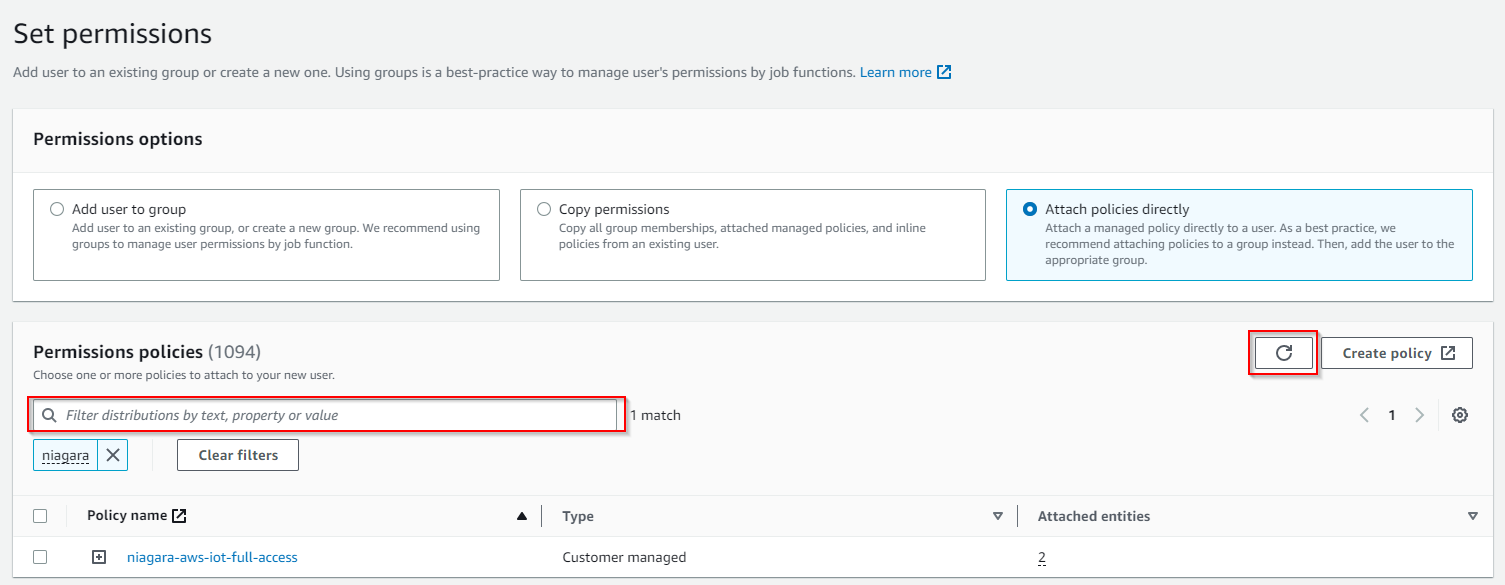
- Then Attach policies directly, Then hit Create policy. A new tab will open.

- Select the Iot service
- Allow All IoT actions
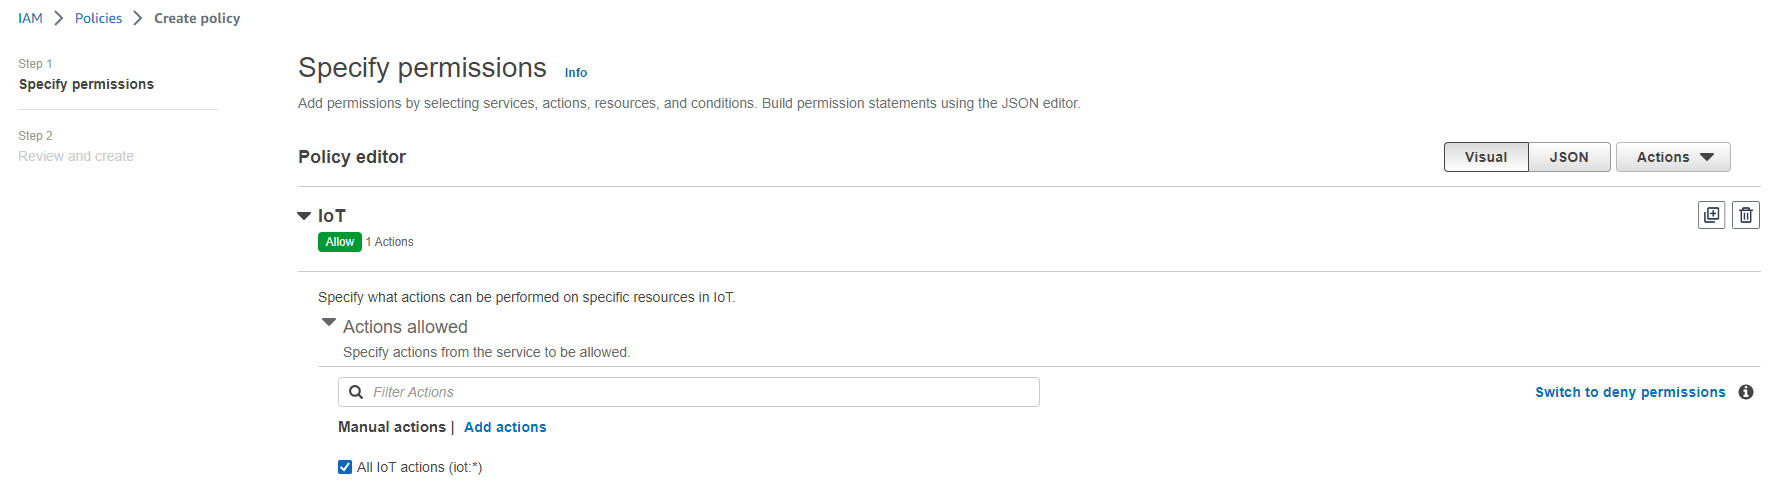
- Allow All resources

- Then hit Next.
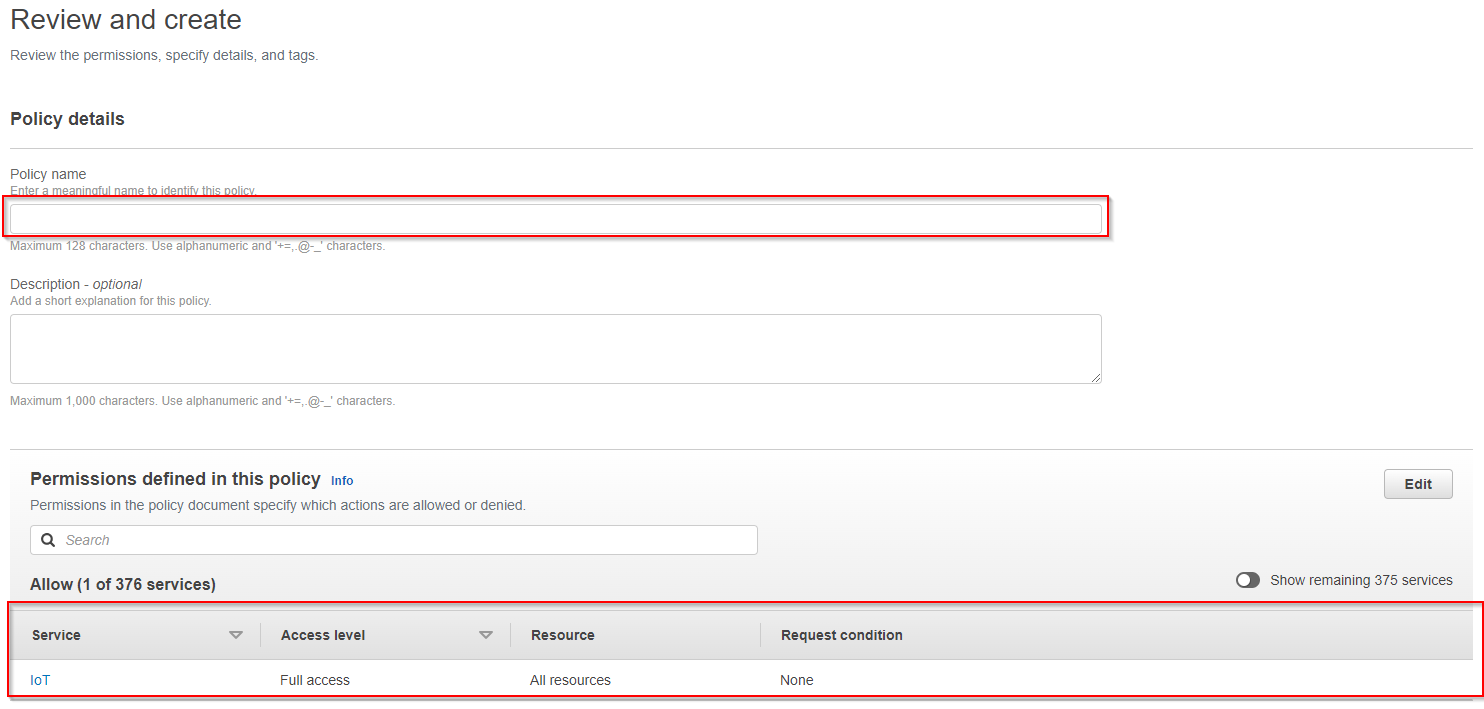
- Give your policy a name, make sure that you have full access on the summary. finally hit Create policy
- Now go back to the "Add user" page hit refresh (top right), look for your policy on the search field, select it and click Next.
- Add tags (optional). Then hit Next
- Finally hit Create User.
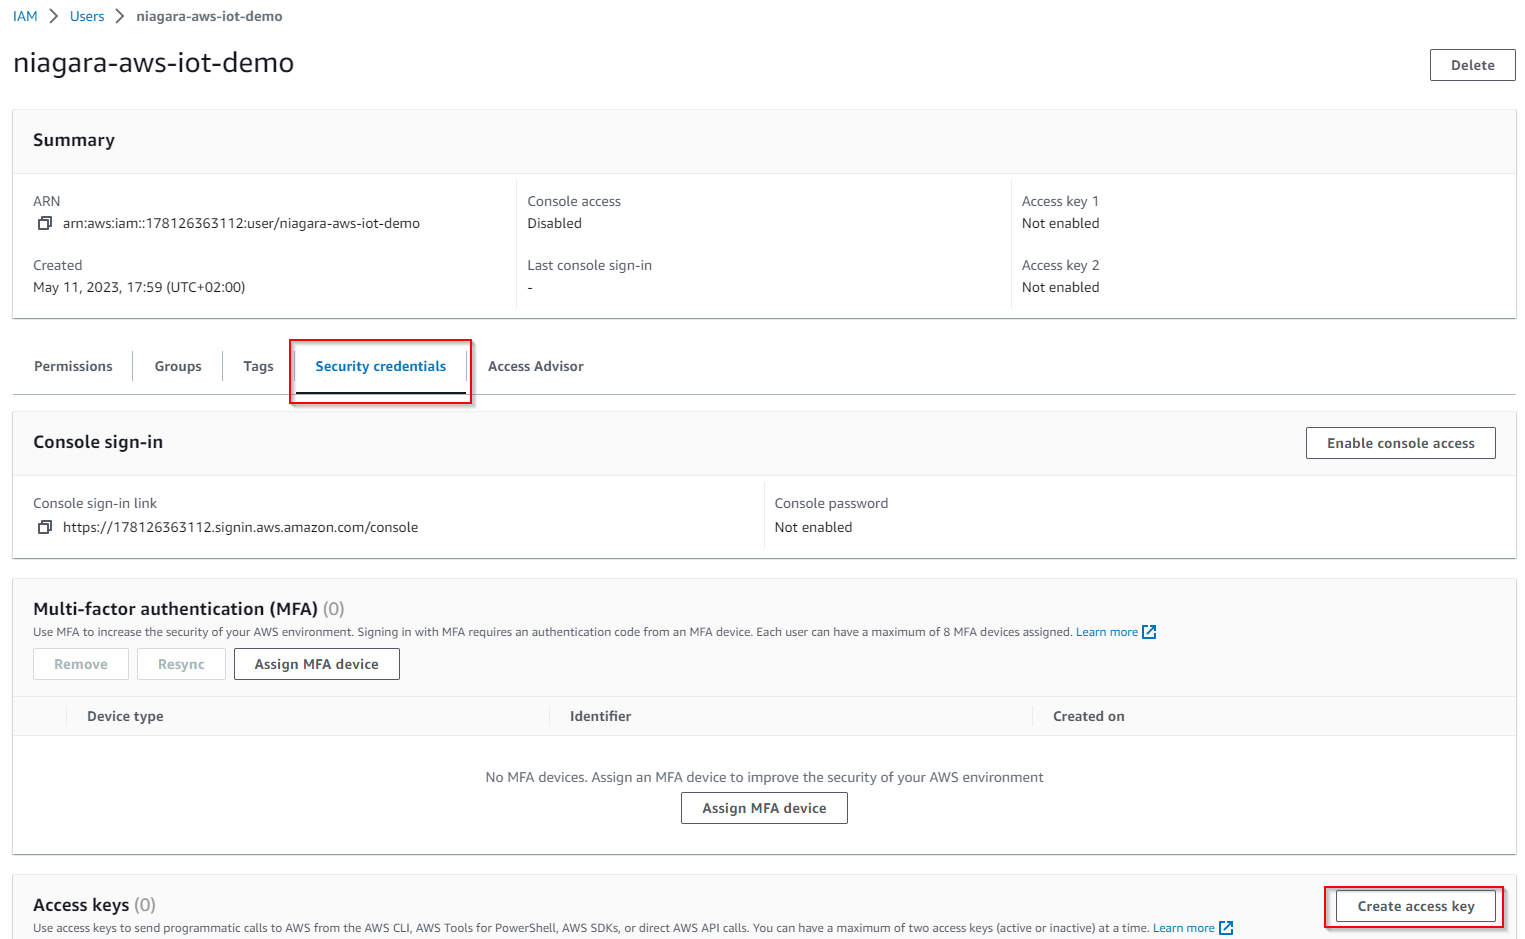
- Your User was successfully created. Click on View user

- Go in the Security credentials Tab and create an access key
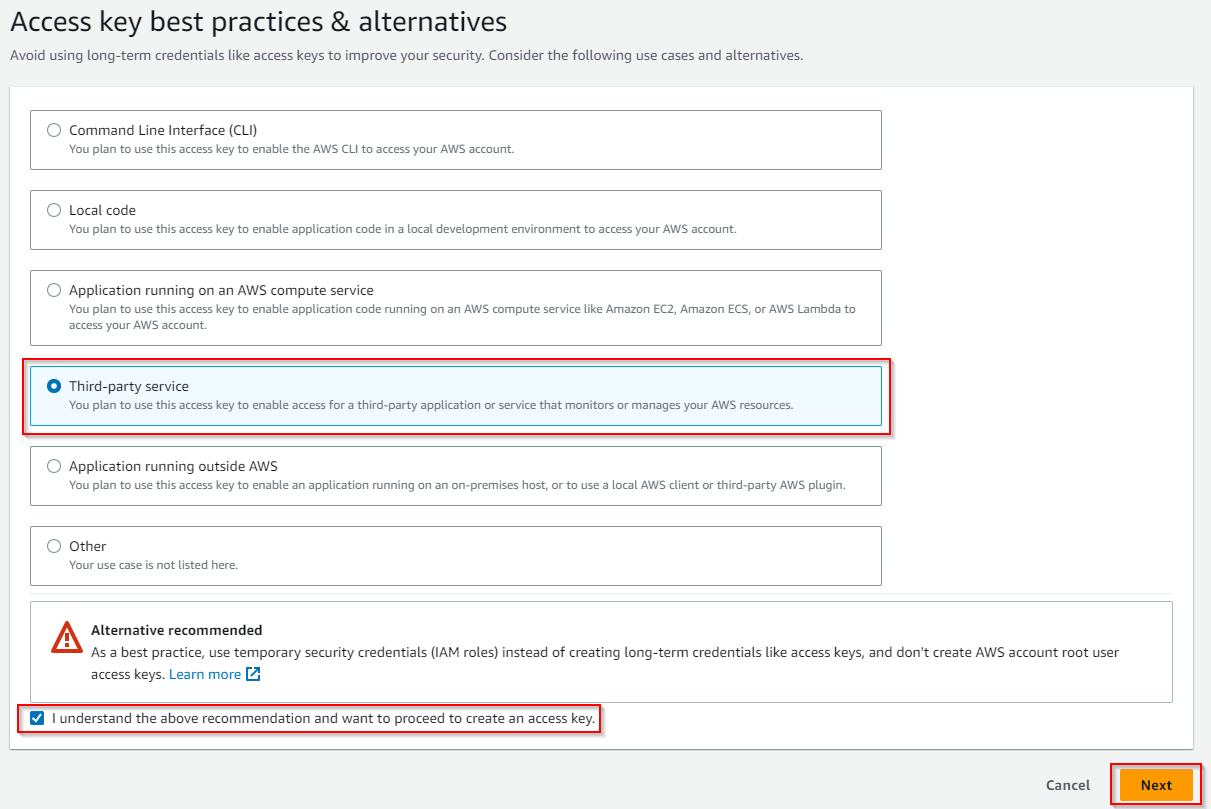
- Select Third-party service, check the "I understand..." checkbox and click Next
- Click on Create access key
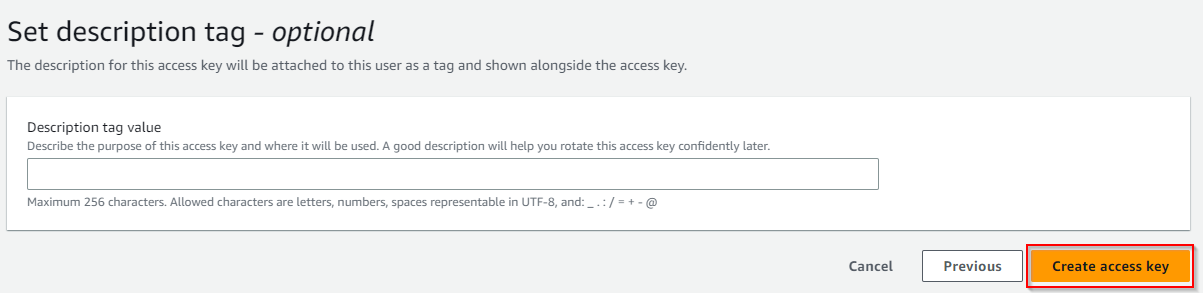
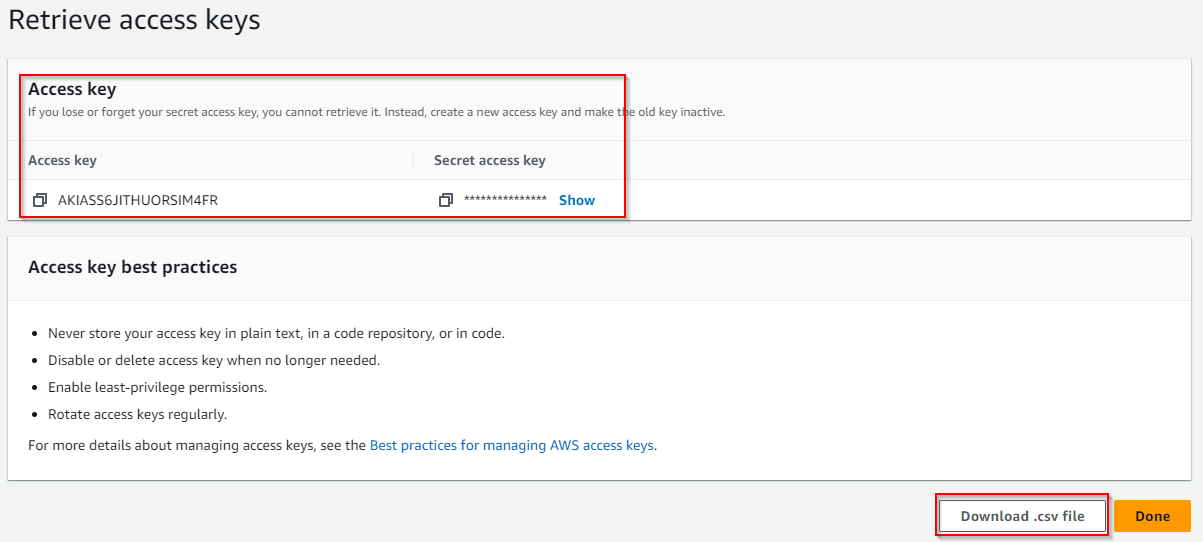
- Retrieve you access keys (either copy paste your values or download the .csv file)
Setup Devices certificates
AWS uses Asymmetric keys for device authentication and authorization.
To create a key pair and a certificate follow these steps:
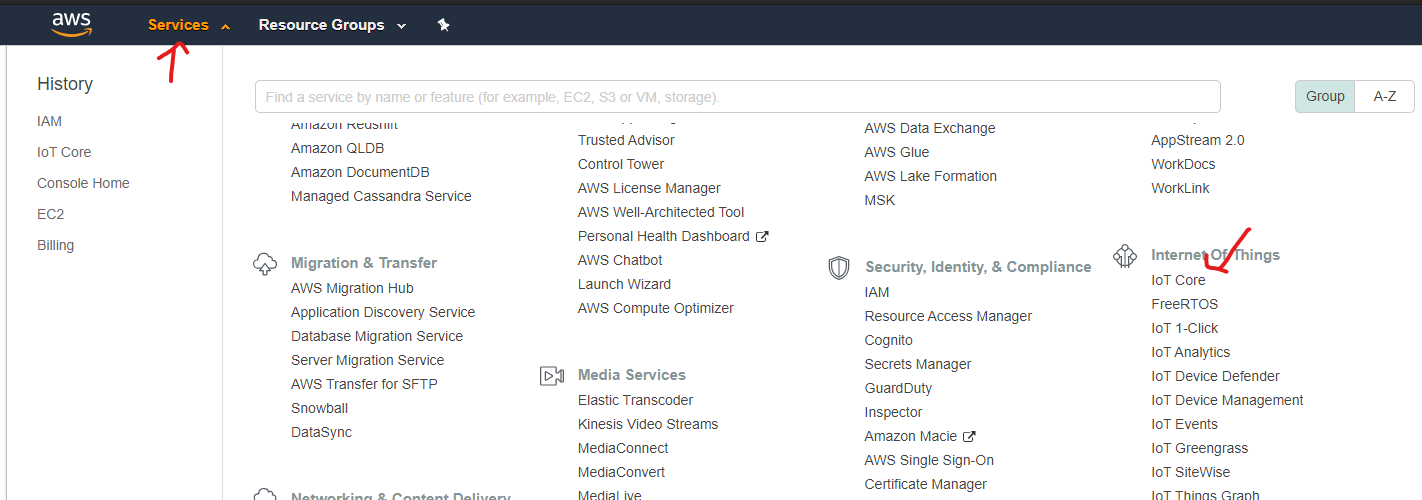
- On services, Go to IoT Core Service
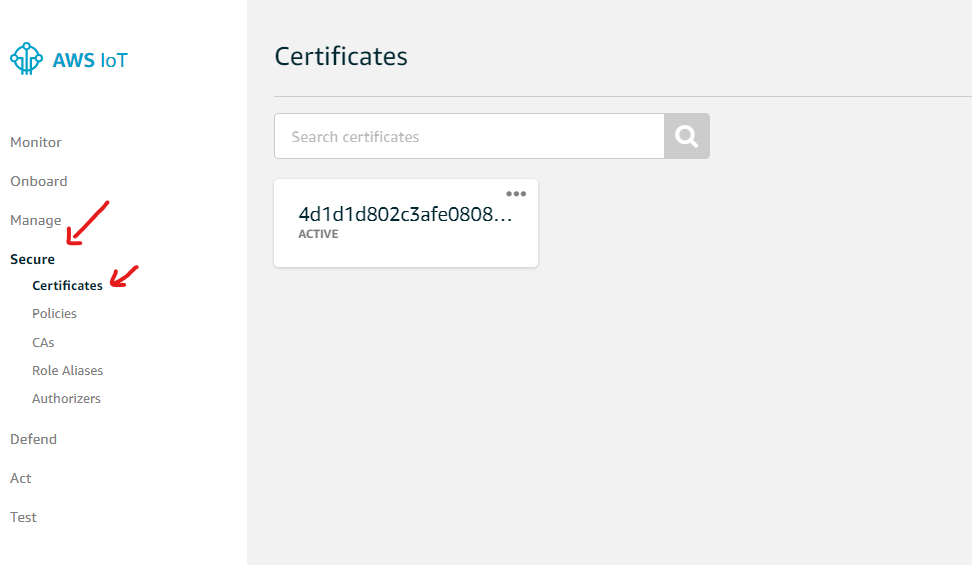
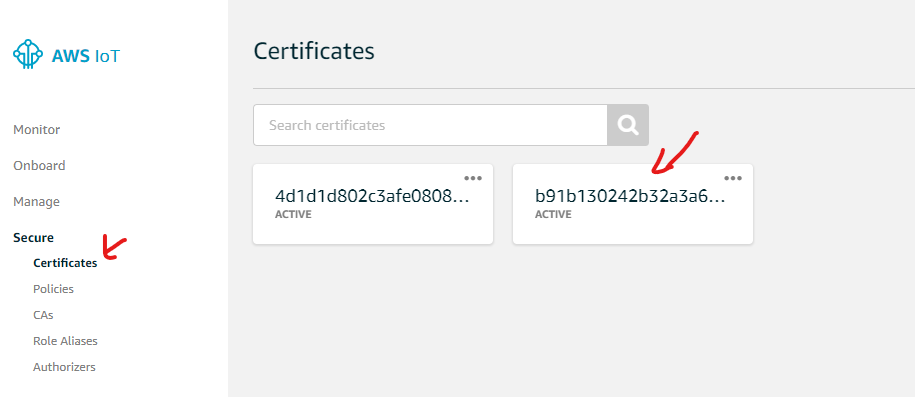
- Then secure → Certificates
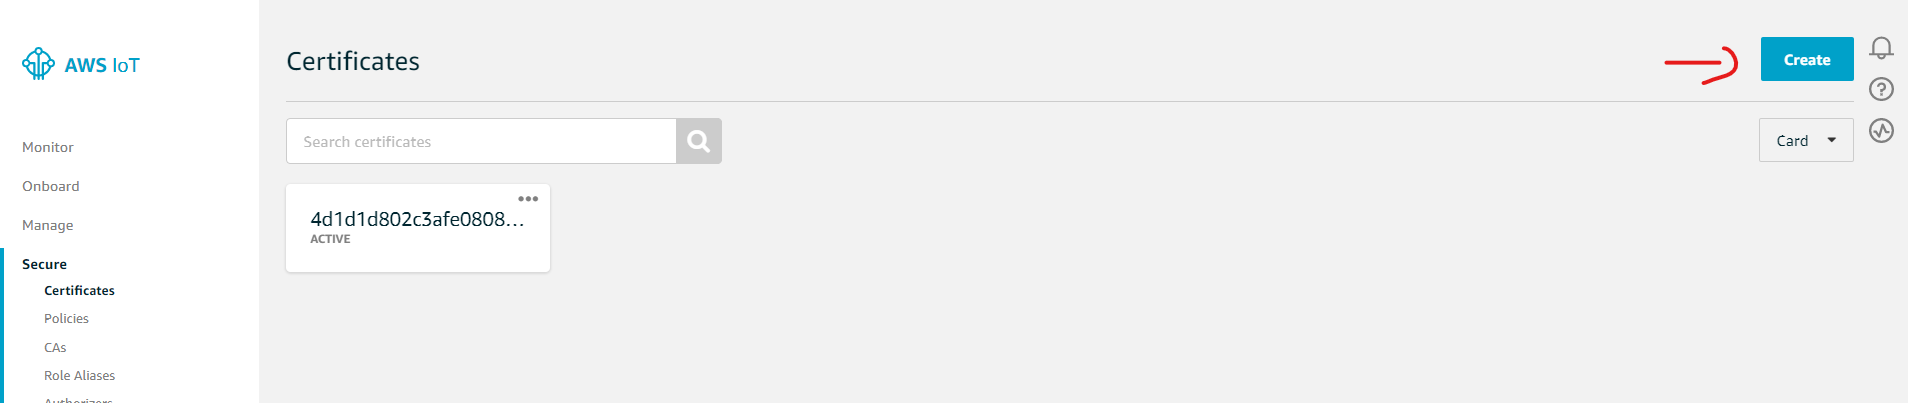
- On the top right corner hit Create.
- Then Create Certificate

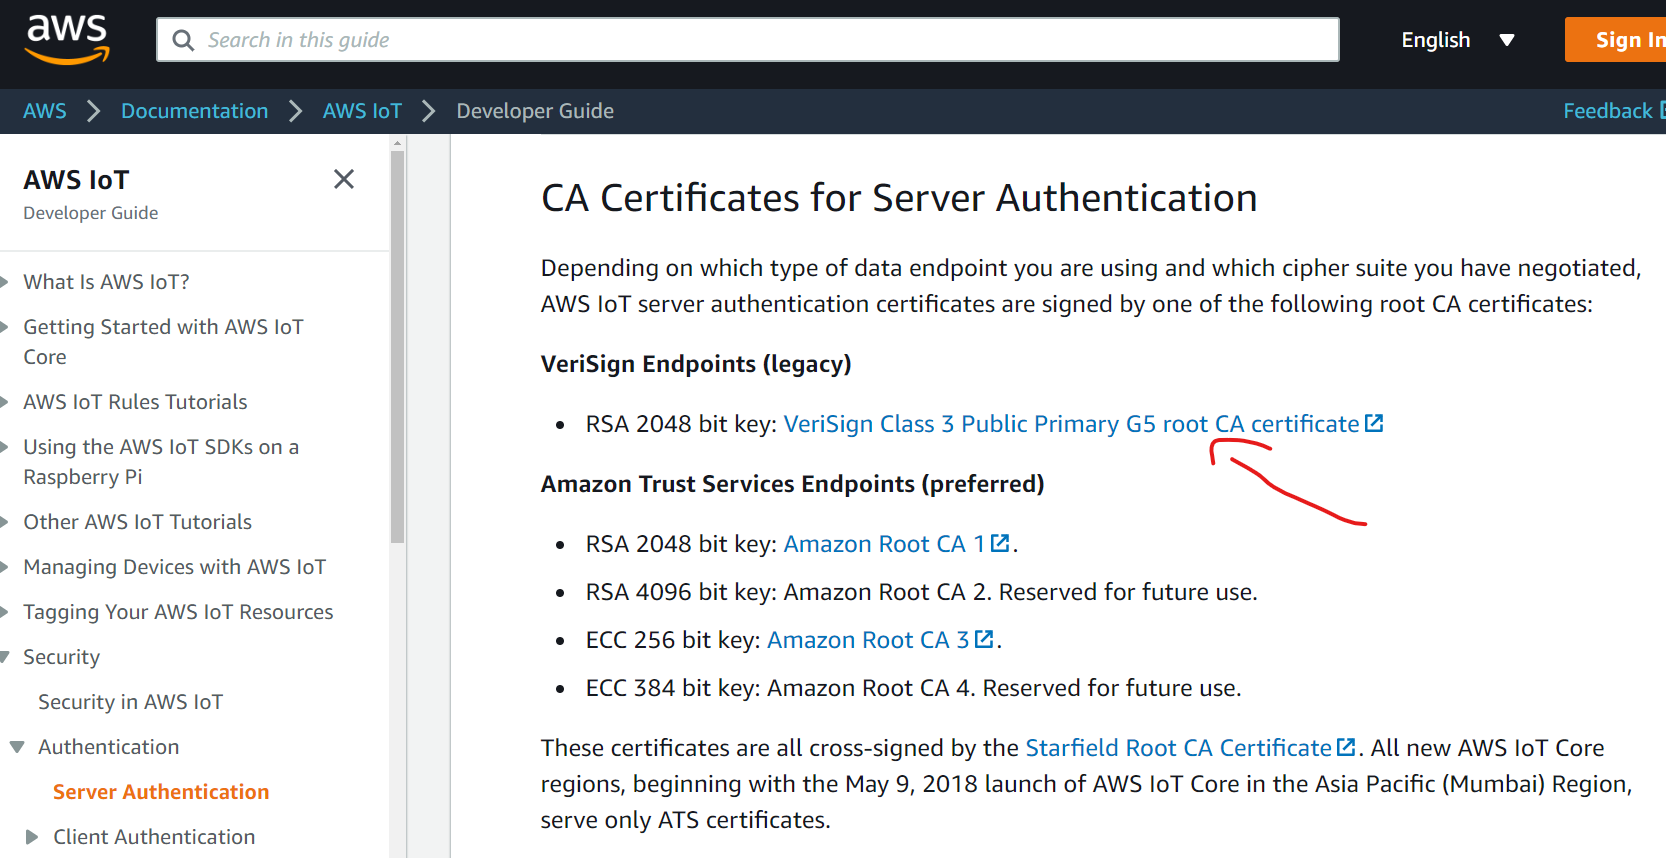
- Download the certificate, the public key (optional), the private key and the AWS CA certificate,
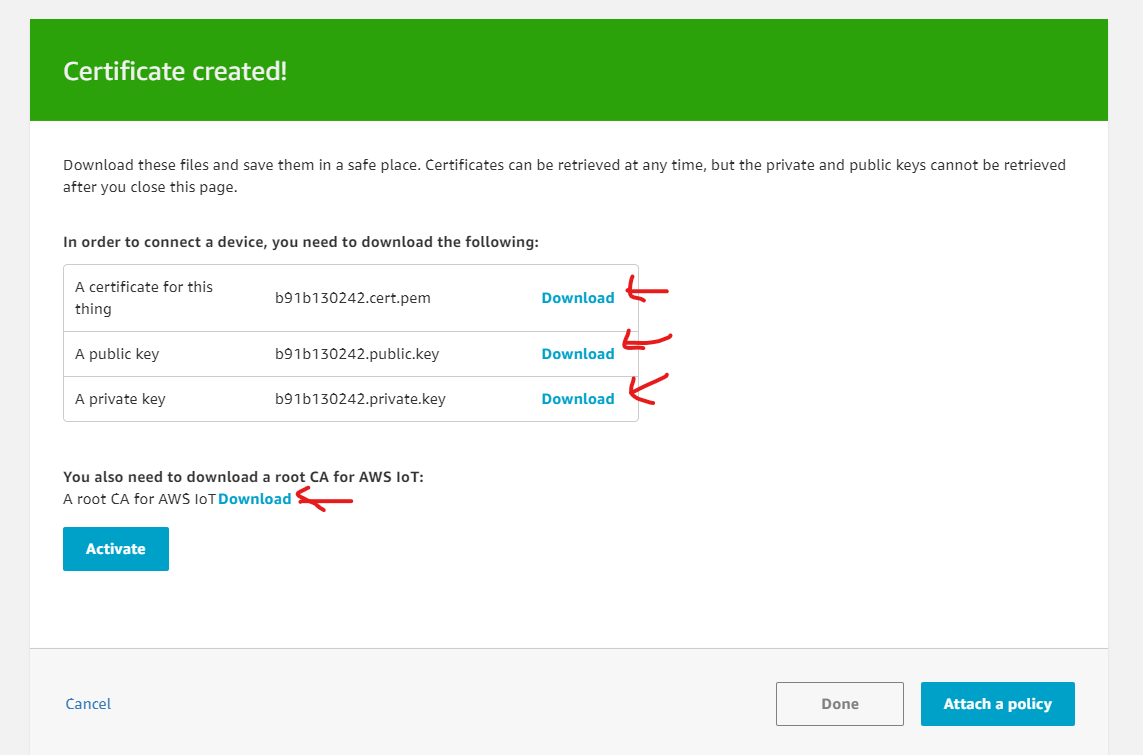
- Then Activate the certificate, Then hit Done.
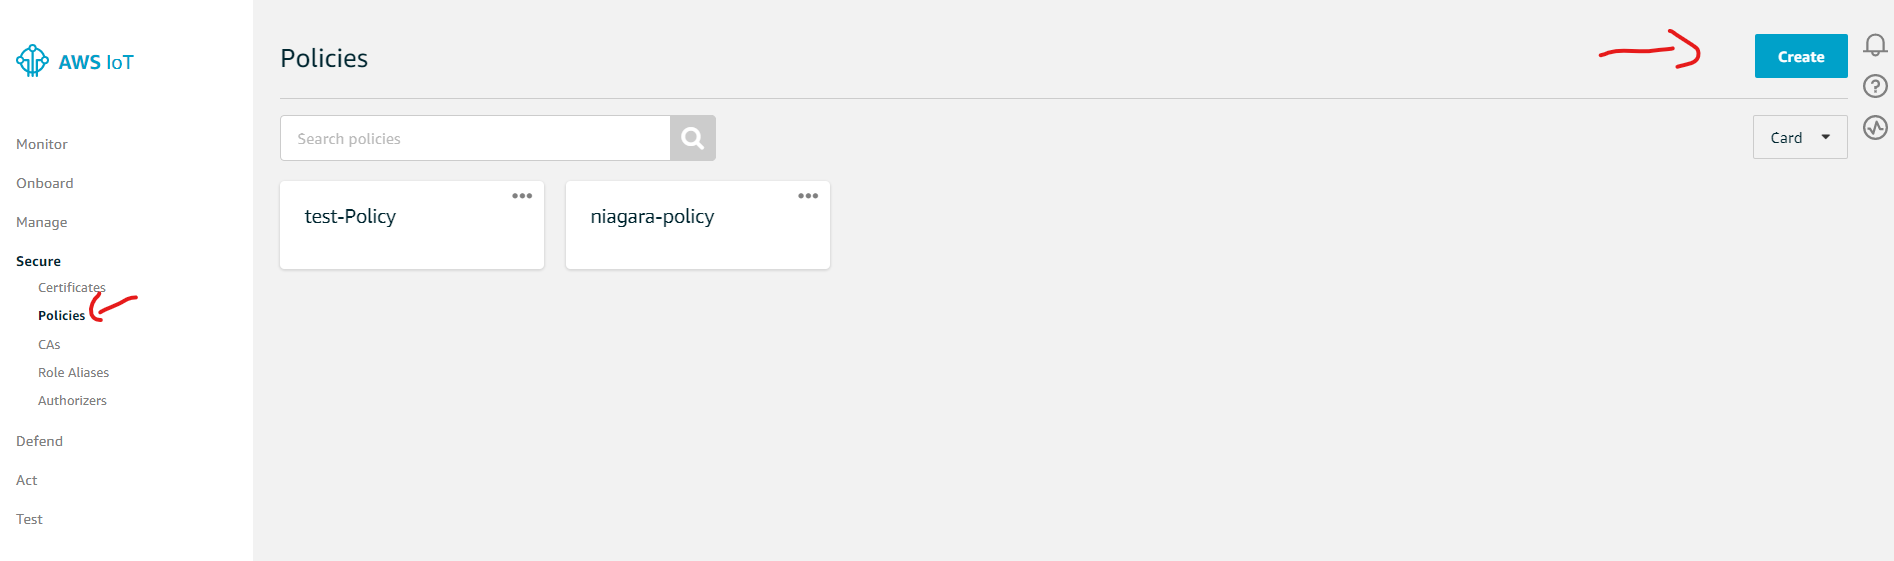
- Now go to Policies and hit Create
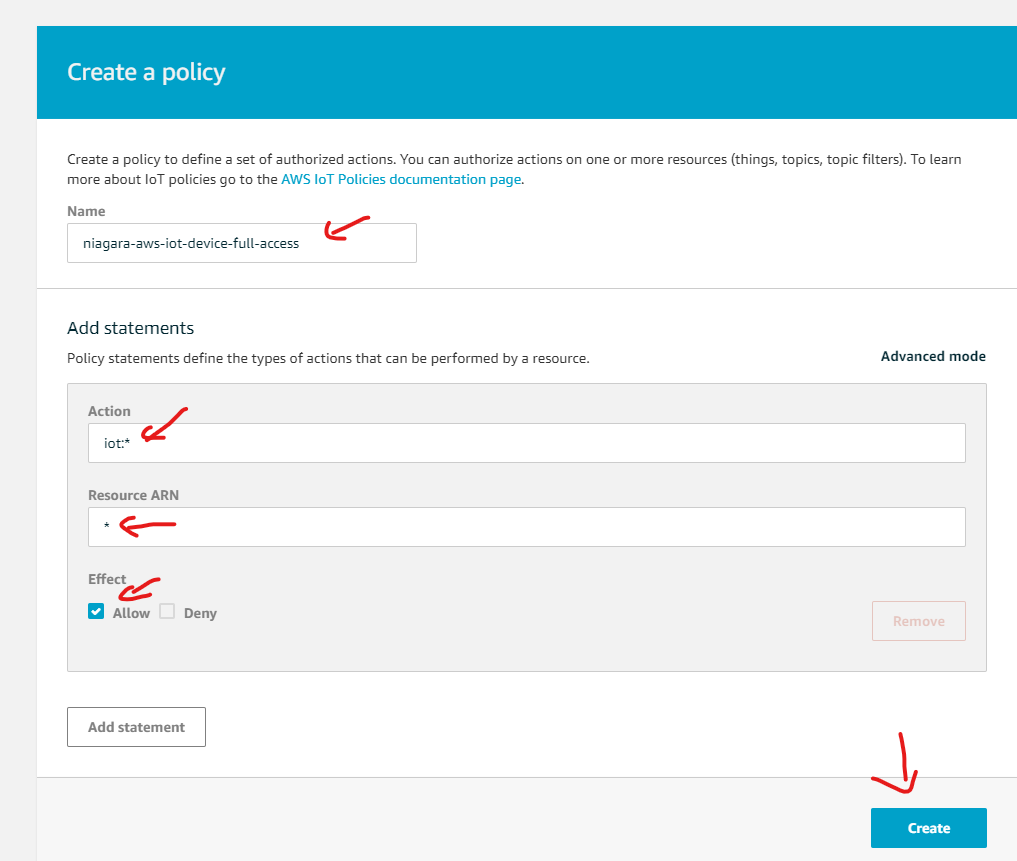
- Give your policy a name. on action type "iot:*" . on resource ARN type "*". Then check Allow on Effect
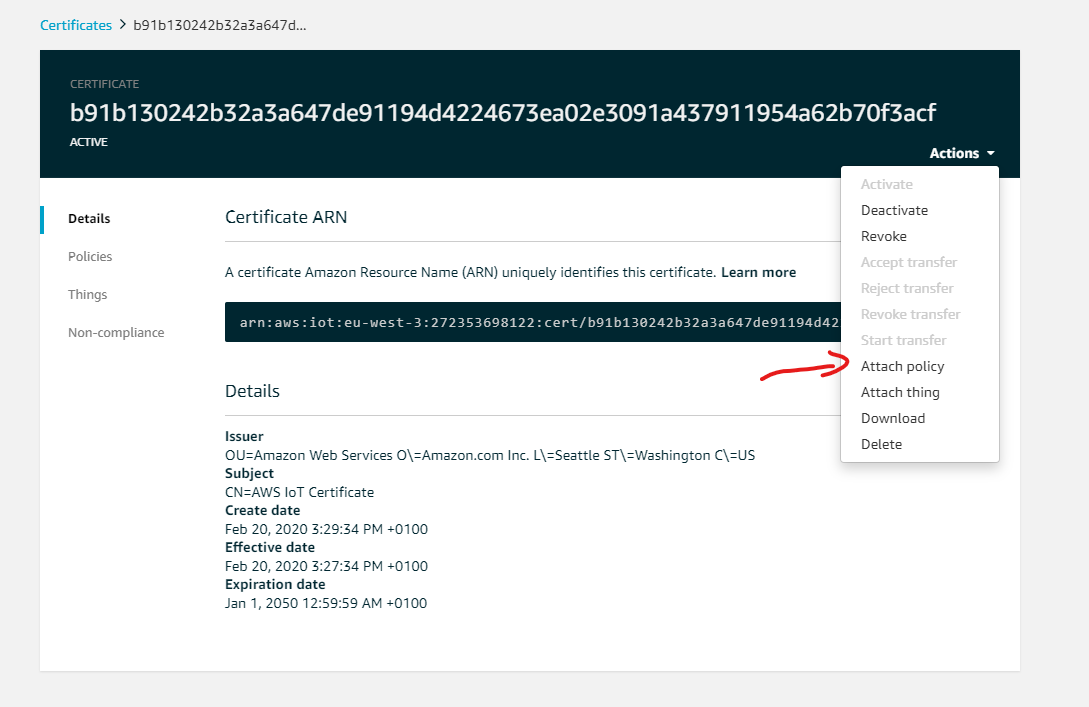
- Go back to certificates. Choose the certificate you created earlier.
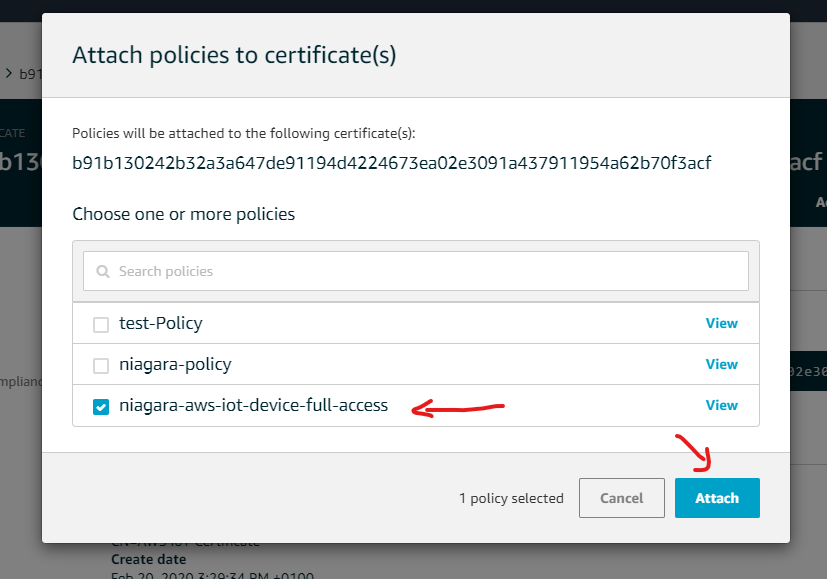
- Under Actions select Attach policy
- Select your policy then hit Attach.
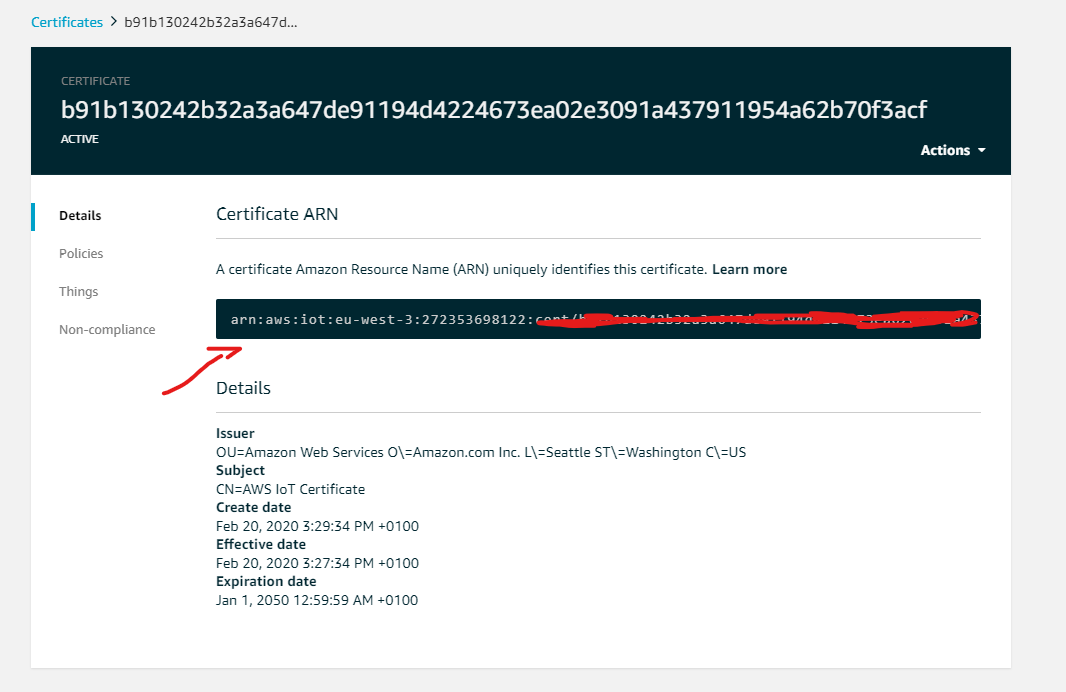
- Now note down your certificate ARN, we will need it later.
Recap
Let's recap, after all theses steps you should have 6 things:
- The credentials csv file for AWS user that contains the client access id and secret.
- The certificate file.
- The private key file.
- The public key file (optional).
- The AWS CA key file.
- And last but not least the ARN certificate
Congrats !!! You finished the AWS setup go to next step:
Next Step
Step 2 Set up AWS connector for devices points and references