
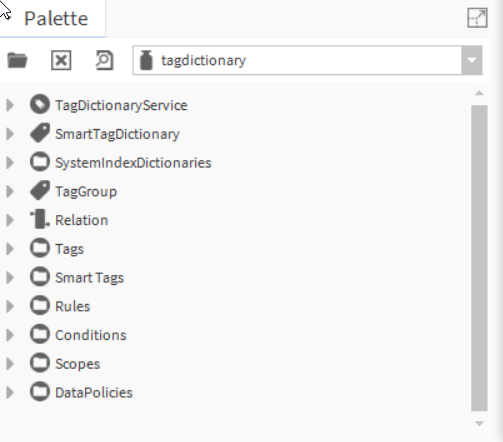
🎛️ Palette
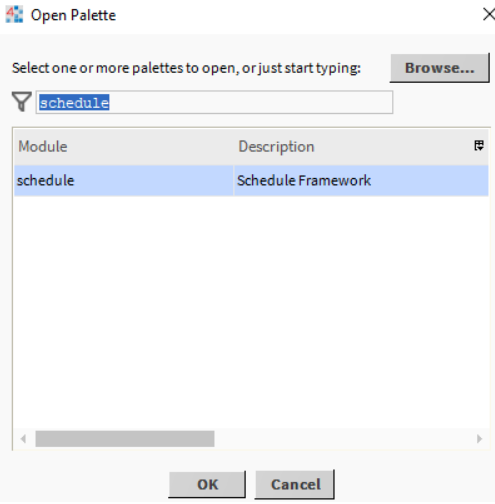
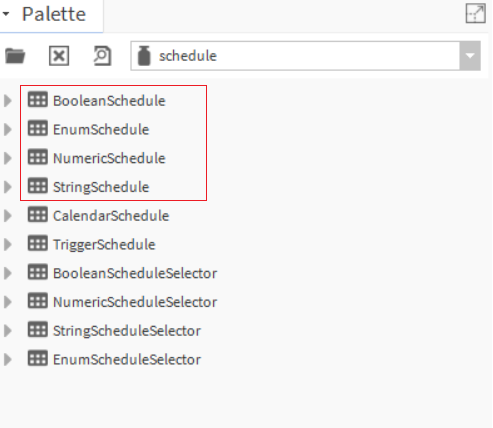
To use the EnhancedScheduler view, open the palette and search for "schedule".
You can then use the following schedules in your Flex View.
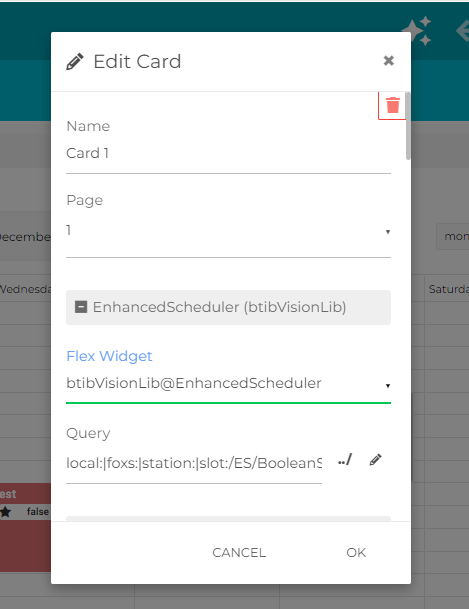
🧩 Import the Flex Widget
To use the EnhancedScheduler card, you need to import the widget from the btibVisionLib module:
btibVisionLib@EnhancedScheduler
🔗 Set the Query
Once the widget is imported, provide a valid query path pointing to an EnhancedScheduler view (typically a component of type Schedule) in your station.
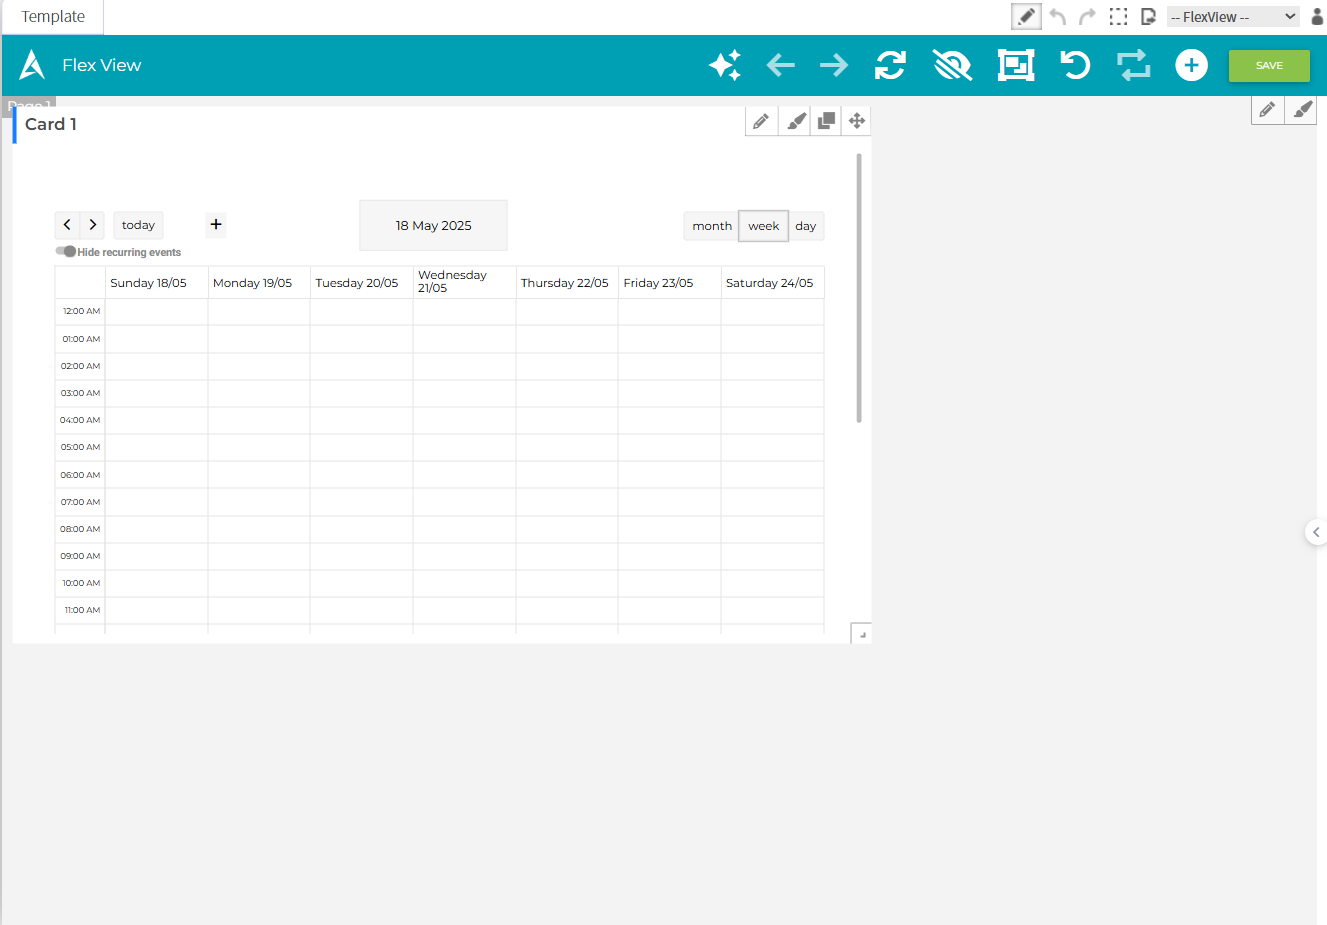
This allows the card to render the calendar and display all associated events.
🧱 Add to a Px View
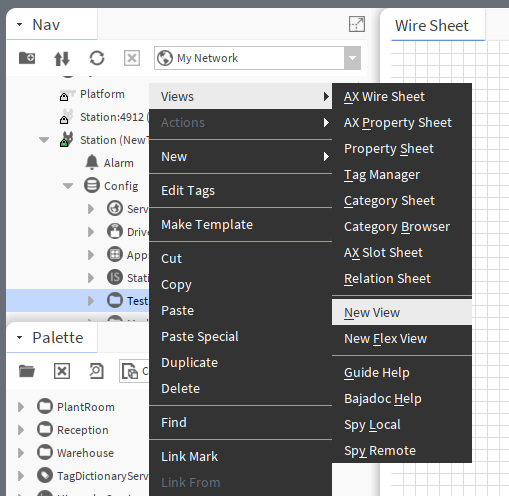
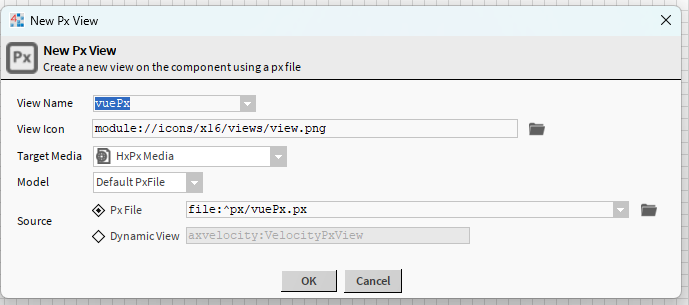
To use the EnhancedScheduler inside a Px view, start by right-clicking on a folder and selecting Views > New View. In the New Px View window, choose any name you like, keep the source as Px File, then click OK.
Next, open the newly created view and click the ✏️ Edit button at the top to enter edit mode.
From the palette, drag a Schedule component (such as NumericSchedule) onto the canvas.
Right-click on the schedule you just added and select Make Widget. In the list, choose Enhanced Scheduler and confirm by clicking OK.
Finally, save the view by clicking the 💾 Save icon and exit edit mode (✏️).

The EnhancedScheduler widget should now appear directly within your Px view.