
Macros are a fantastic way to save your energy when you have to do repetitive tasks but you can also use them to create utilities to configure a station, devices, create a logic etc.
The macro can be be recorded by doing the job once or can be created manually as a workflow: you chain block together to describe what you want to be done.
Get your license
btibMacro is part of the Active-Pro package. You need a dedicated license to use it. Follow this tutorial if you don't have it yet or if you don't have the proper modules.
If everything went fine in the tutorial, the Active Pro Manager should be available in the Workbench (don't forget to relaunch the Workbench after installing the modules).
If the "Active Pro Activation" popup display an error mentioning a failed certificate validation, in the "Tools" tab, go in the Certificate Management and approve "active-framework.eu,
auth0.com
:443"

Create your first Macro
We're going to generate a macro by recording modifications once.
-
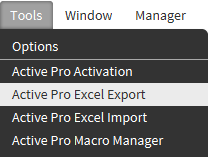
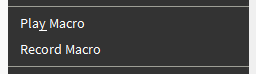
To start creating a macro, click right where you want to apply your modifications and select "Record Macro". We'll do it from a device here.
Keep in mind that the component where you start the macro is important since the modifications will be recorded relatively to this component.
-
A popup will appear:
-
Define a name for your macro
-
Select a folder to create it
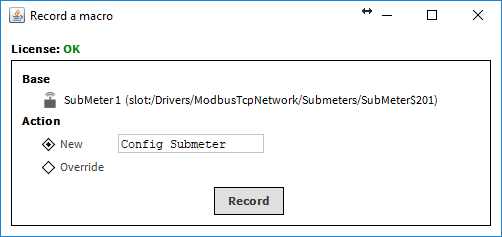
(You can override an existing macro. Your steps will be added as new steps)
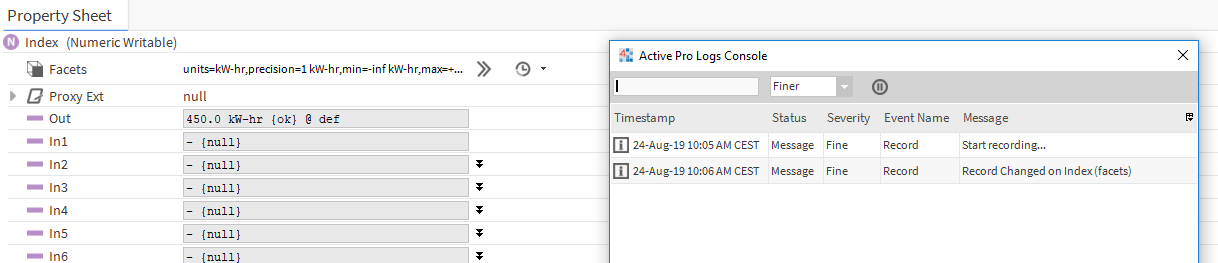
3. Hit the record button. A popup will appear with a table. It will show every modification being recorded.
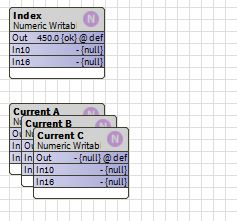
Let's change for example some facets on a point: a new line is added to the table
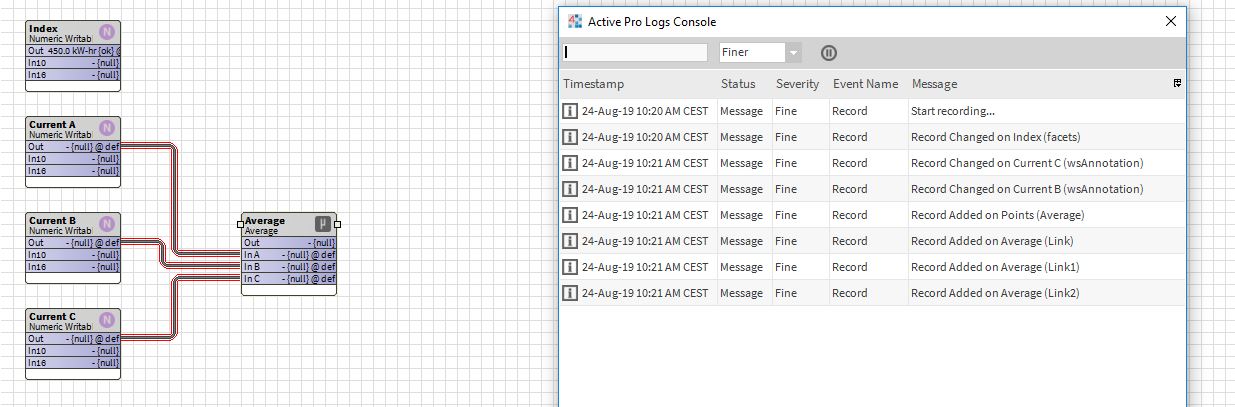
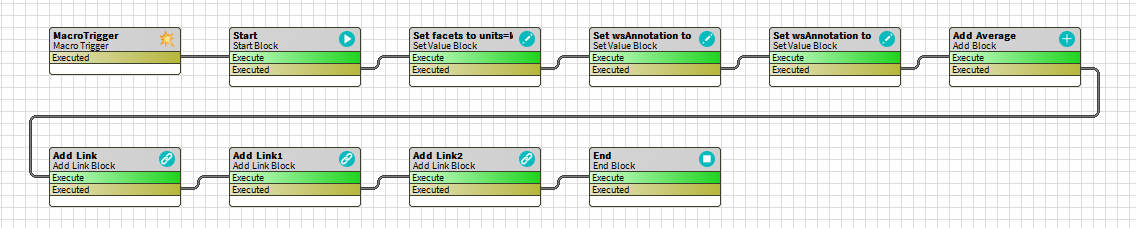
Let's change now the logic
By adding an average bloc for the three phases.
The third and fourth lines represent the change of position of "Current B" and "Current C".
Then the bloc Average is added. And the three links are created.
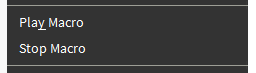
4. When you're done, just click right on any component and select Stop Macro:
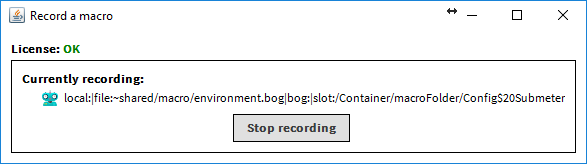
A popup appears, stop the recording:
You can now see the different changes. One line in the previous table = one block.
This is awesome because you can modify the macro if you want (add blocks, changes them, delete...). This will be covered in the second step of this tutorial.
Note: The recording is not based on an absolute path but on a relative path. So the component that you choose to start the macro (when you click right the first time) is very important. It's the base path of all your modifications. If you need to change a dozen of devices. Start recording from one device to get a relative macro from a device.