
Now you know how to record and how to play a macro. Let's go further and let's modify an existing macro.
Change existing blocks
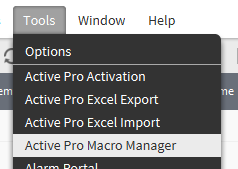
Open the Active Pro Macro Manager
You will see the Macro you recorded before

Open it by double clicking on it.
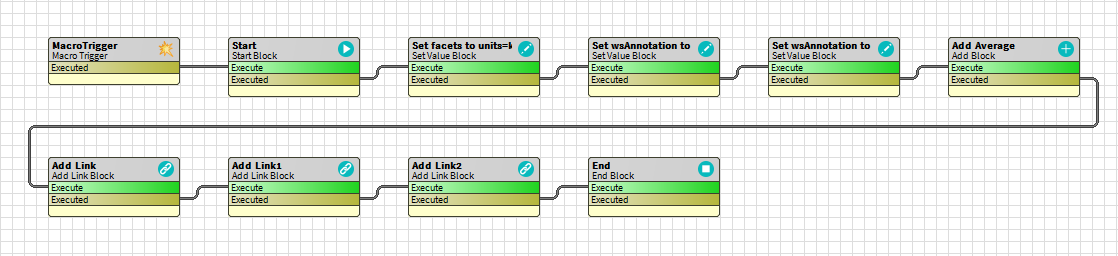
So if you didn't fall asleep before, you remember that one modification was generating one block. Let's have a look to the third block (the first modification though) called "Set facets to..."
To open a block, just double click on it, a popup will appear. Let's examine it in details.
-
Notice that the block is a "Set Value Block". There is a different block for every type of modification (Add Component, Add link, Add relation...)
-
The target is where the modification will happen. It's relative to where your started recording the macro. Here was the device. So it's modifying the point called "Index".
-
There are several ways to define the value. Here it automatically chose "Container" and added the facets.
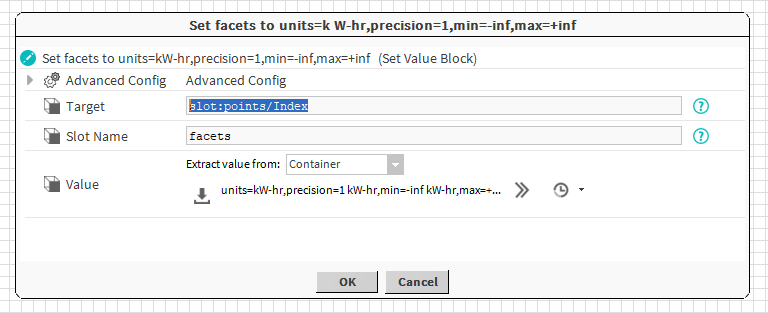
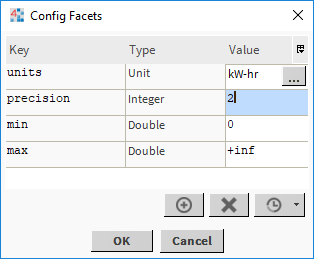
Let's change the value of the facets to add a min to 0 and a precision of 2.
Hit ok. Save the bog file.
Play again the macro (with a manual selection or using the query). See the changes

Append new modifications to an existing macro
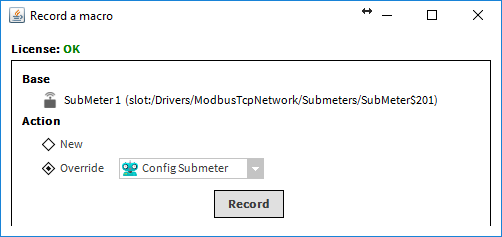
Let's say now you want to add an history extension to the index point, change the interval and enable the extension. You can do this easily by overriding an existing macro.
Start recording a macro again from the same origin (the first device in our example).
But instead of creating a new macro, select "override" and choose the previous macro.
Hit Record.
Add the history extension to the index point.
Change the interval
Enable the extension.
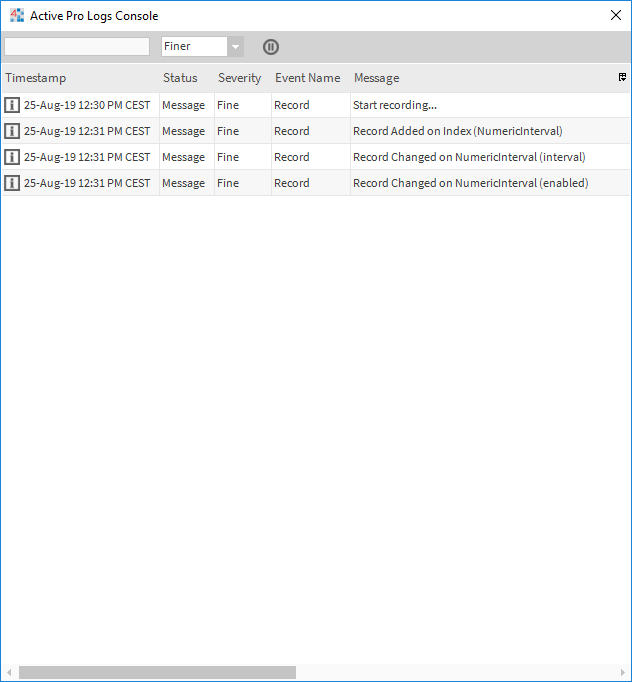
When you're done, again click right and stop recording. See the result. Three more blocks have been added to the macro.

[Advanced] Create new blocks
Let's continue our example and let's say now you want to change the History Name.

You can append the existing macro as we did before, or you can just add a block from the palette.
Open the macro through Active Pro Macro Manager
And open your macro.
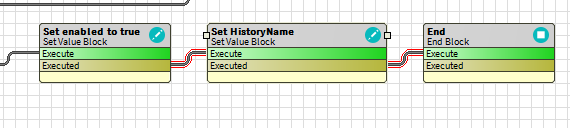
Open the btibMacro palette, the "blocks" folder and drag a SetSlot component to the macro. Put it between the last block and the end block (remove the existing link between them)
And link the executed topic to the execute action.
Now open the block. We have to define:
-
The target
-
The slotName
-
The value

The target is the history extension we added before.
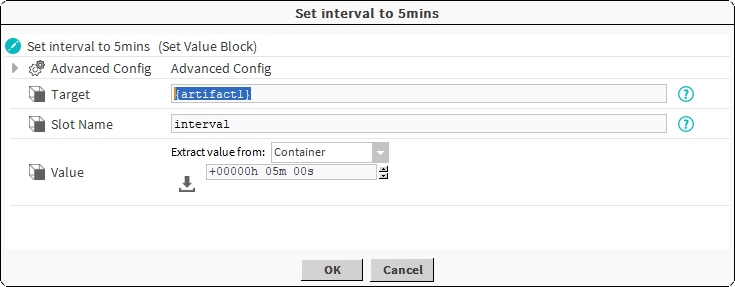
Locate the block called "Add Numeric Interval...".
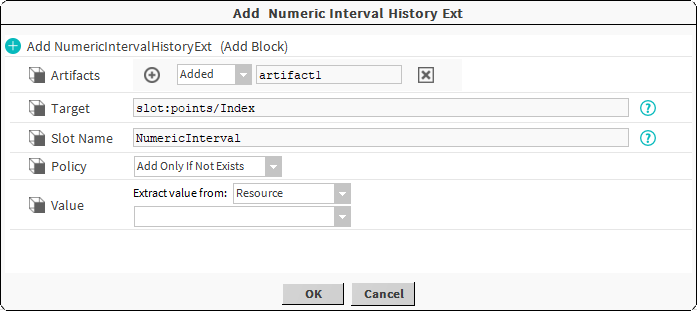
There is a part at the top called "Artifacts". Whenever a block add a new component, it references it through an artifact so you are able to reuse it later.
Have a look to the following block like "Set interval to 5 mins". The target is {artifact1}. The syntax follows SFormat (Super Format). We don't need to see it in details here, just remember to put the artifact into curly brackets.
So let's set our new block. Choose extract Value from "Container".
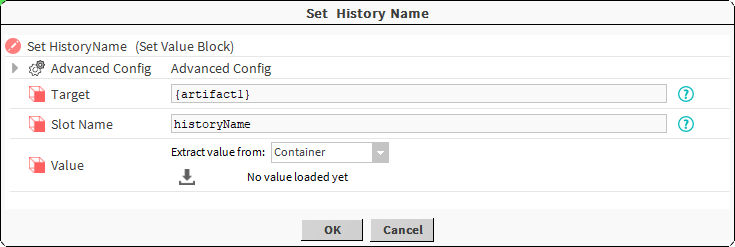
Then Select the type baja:Format which is the type of the slot "HistoryName"
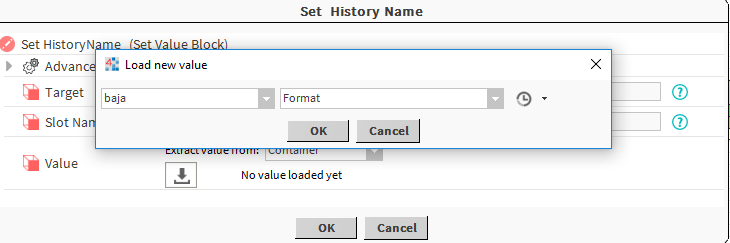
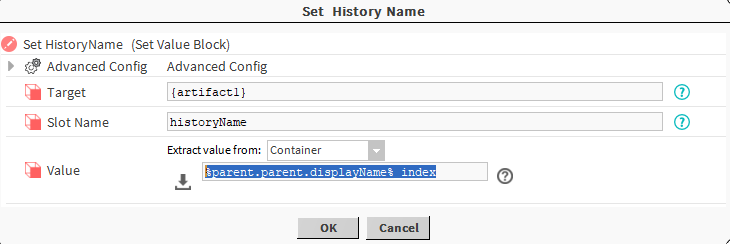
And fill-in with %parent.parent.displayName%_index for example. Then hit ok. Save the macro
Play it again.
Next Step