
In this step you will setup the AwsIoTconnector to connect Niagara to AWS.
Set up the connector
-
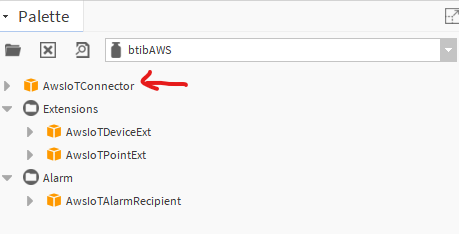
Open the btibAWS palette.
-
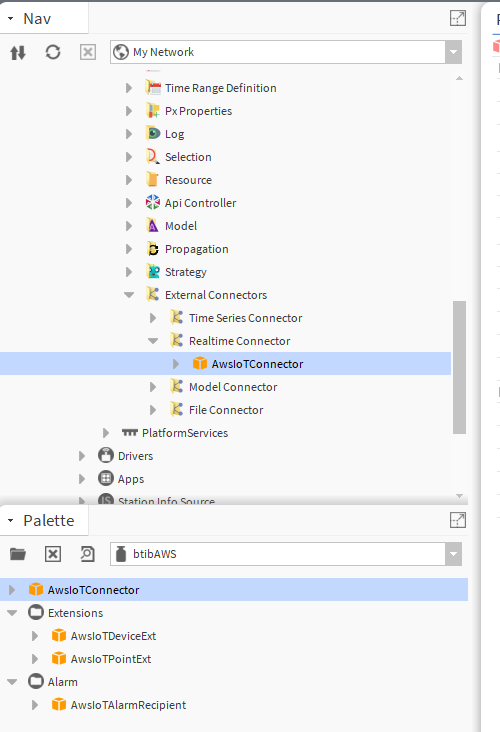
Drag and drop the connector on the btibService→ ExternalConnectors → RealtimeConnectors folder.
-
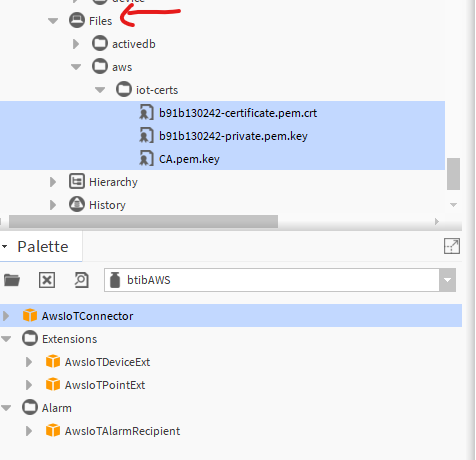
Copy the certificate, the private and the CA certificate to your station files.
-
Configure your connector.
Add an AsymmetricKeysAuthentication from the palette to the AuthenticationSchemes slot. Fill the slots with Ords targeting your certificates and key.Set Auto Provision to FalseFill-in the AWS EndpointFill-in the AWS regionFill-in the ARN certificate you saved beforeFrom the credentials csv file you can get your access key and secret.Finally enable the connector, you should see a successful status
Device setup
Now the connector is ready, you coud configure your devices and points.
To do so:
-
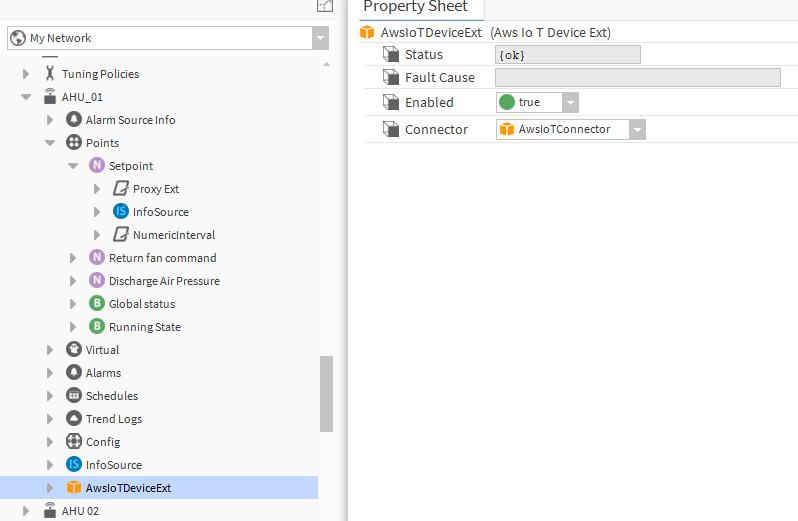
Go to Drivers → <your network> → <your device> and drag and drop the Aws IoT Device Ext to any point container (it may be a folder).
-
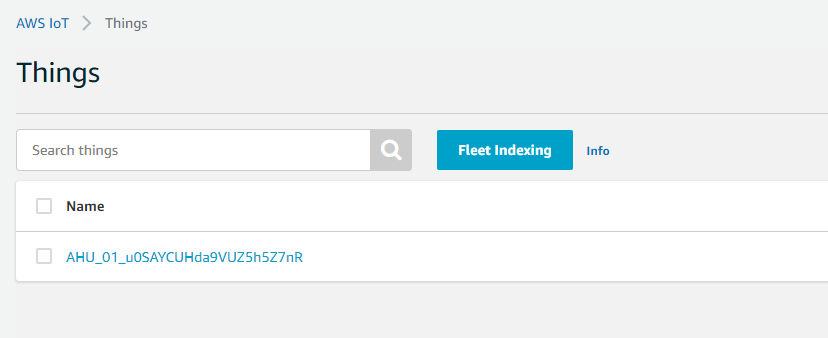
You should see your device on the AWS console.
-
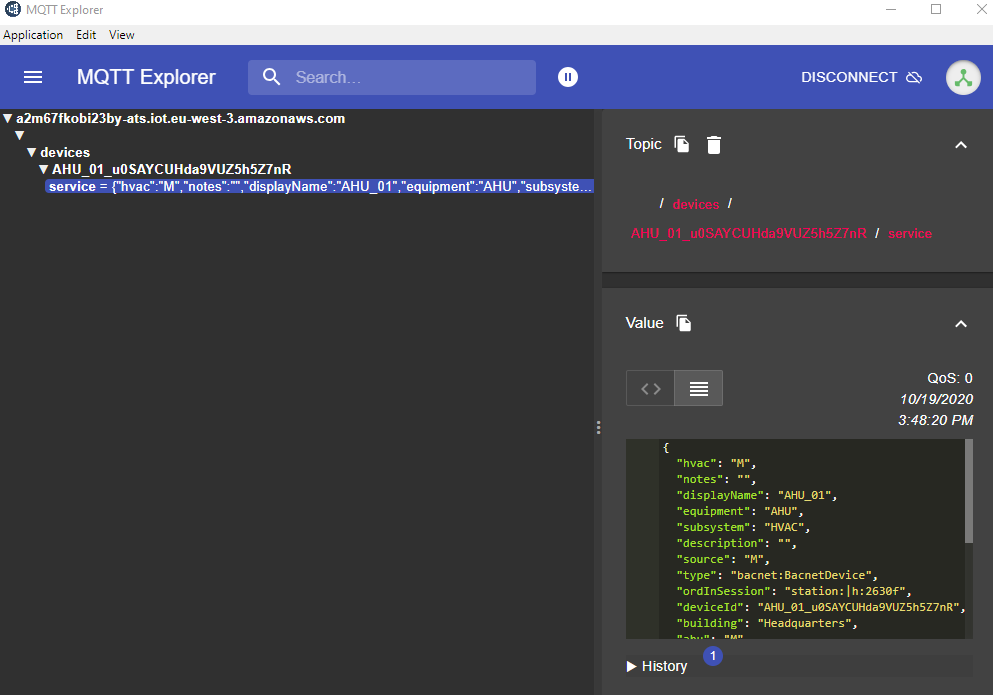
Use any mqtt client to inspect messages, you should see tags published under the service topic corresponding to the device
Point Setup
-
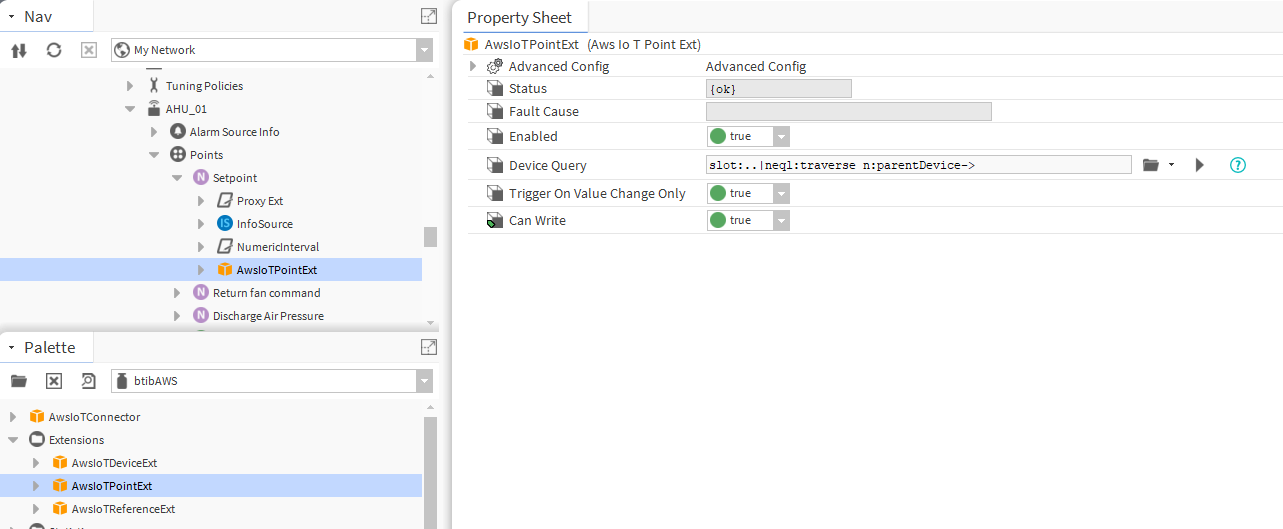
Now drag and drop the Aws IoT Point Ext in your point.
-
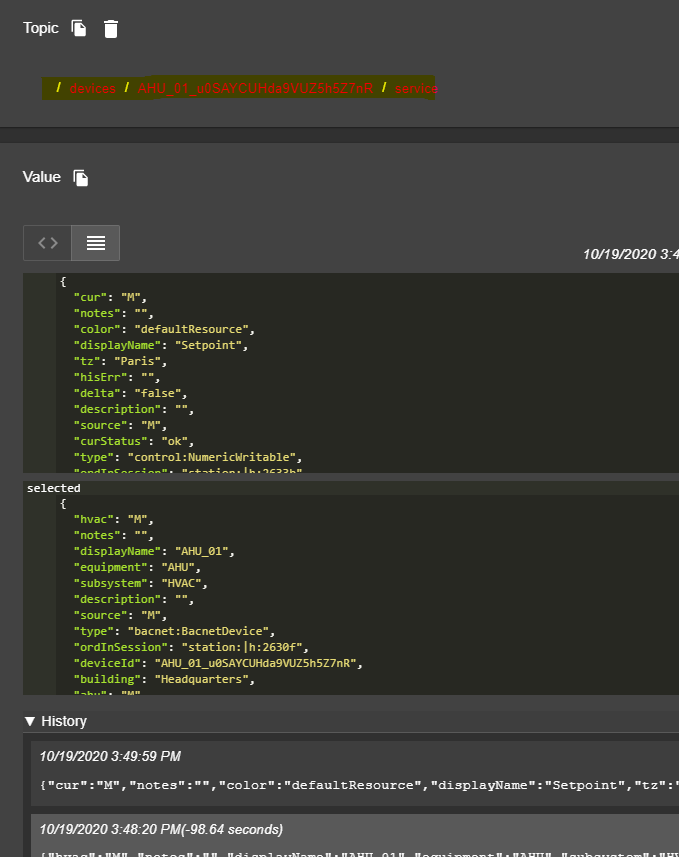
On your mqtt client you should see the tags for the point published on the service topic and a message on the events topic
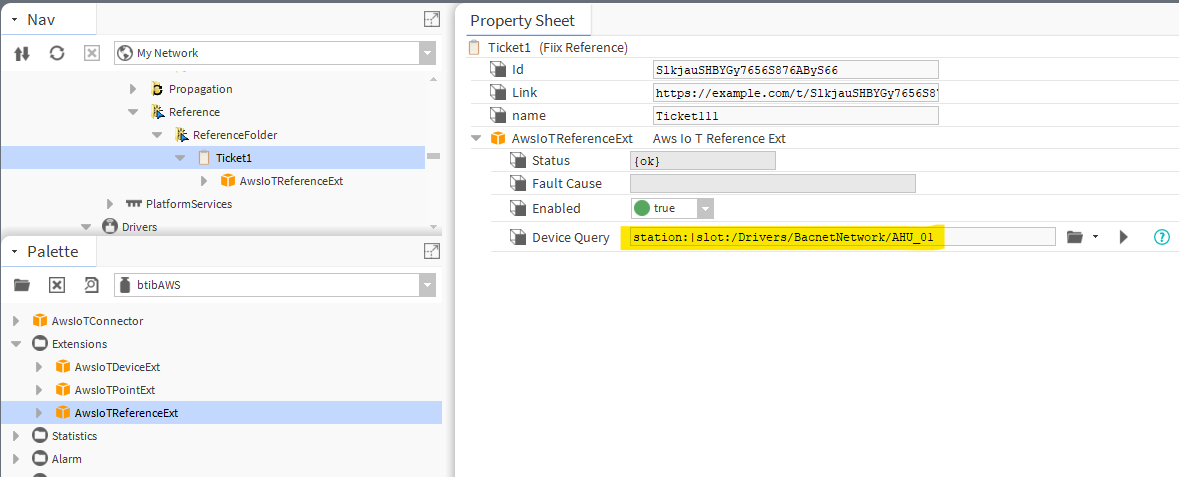
Reference Setup
-
Drag and drop the reference extension to the reference component. And sepecify the query for the device to connect to.
-
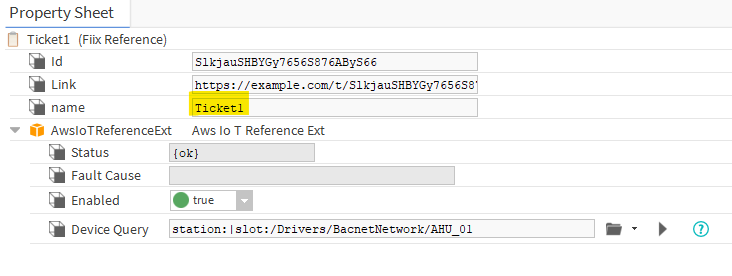
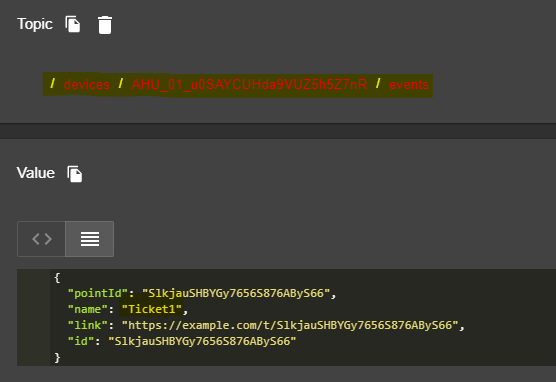
change any reference property.
-
And you should see the event.
Next Step
Step 3 Send messages to AWS from Niagara