IoTHub supports several ways to consume data.
IoTHub Client SDK
IoTHub provides you with a client libraries for all major languages to push and pull data from IoTHub see the link for more information: https://docs.microsoft.com/en-us/azure/iot-hub/iot-hub-devguide-sdks
Azure Cloud Services & BloB Storage
IoTHub has full integration with all major Azure Cloud services, in this section we will focus on BloB Storage.
AzureBlobStorage is a scalable, cost-effective cloud storage for all your unstructured data. Pay only for what you use, and save money compared with on-premises storage options. Choose from among four storage tiers, depending on how often you’ll access the data. Store performance-sensitive data in Premium, frequently accessed data in Hot, infrequently accessed data in Cool, and rarely accessed data in Archive.
-
Go to your Azure Portal and click on on your IoTHub.
-
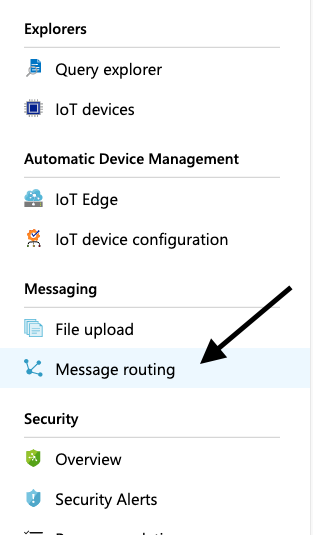
In the left click on Message Routing.
-
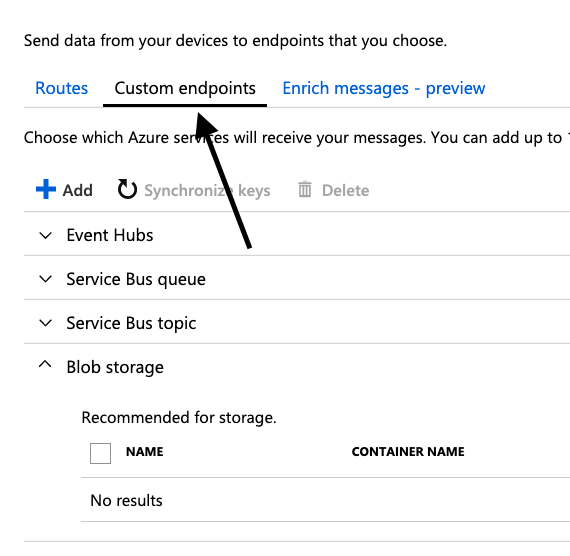
Then on the Custom endpoints tab.
-
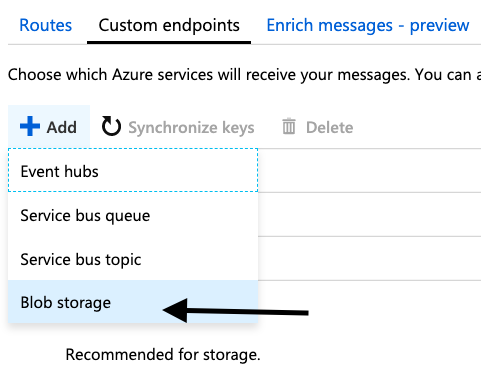
Click Add button to add a new custom endpoint (where the messages will be routed).
-
And choose Blob Storage.
-
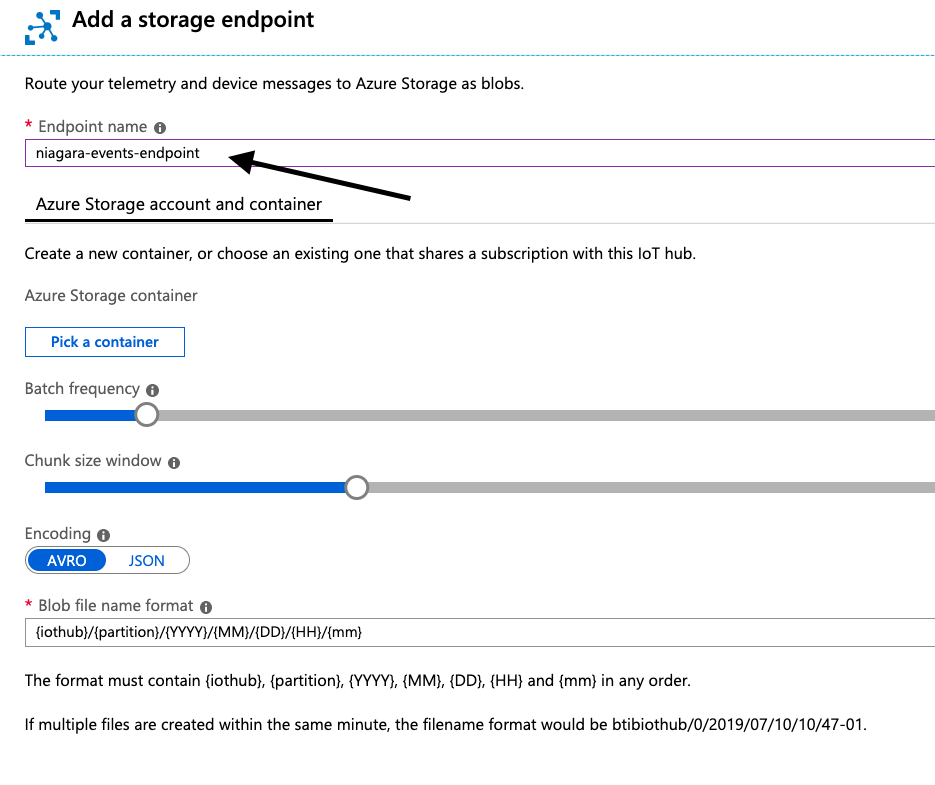
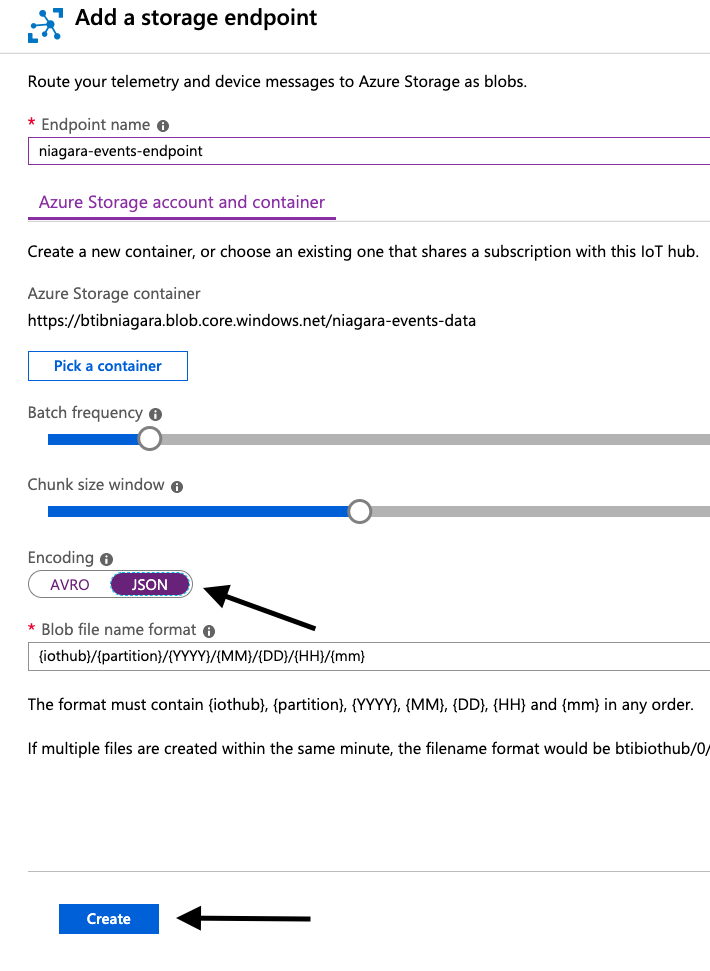
Give a unique name to this endpoint.
-
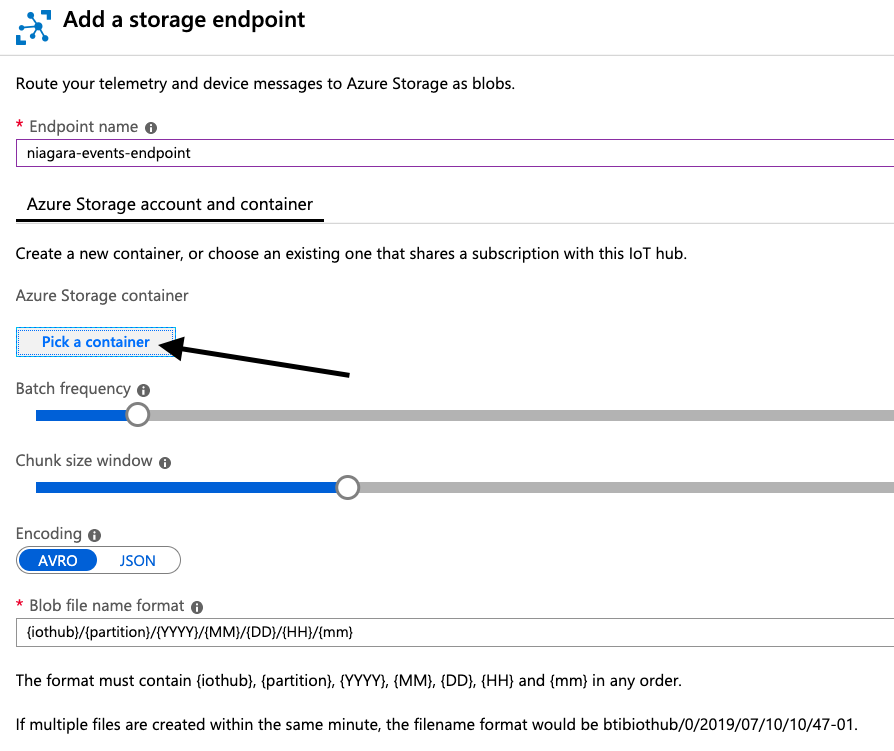
Pick a storage container.
-
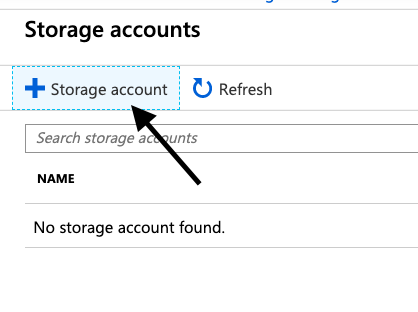
Click on + Storage Account.
-
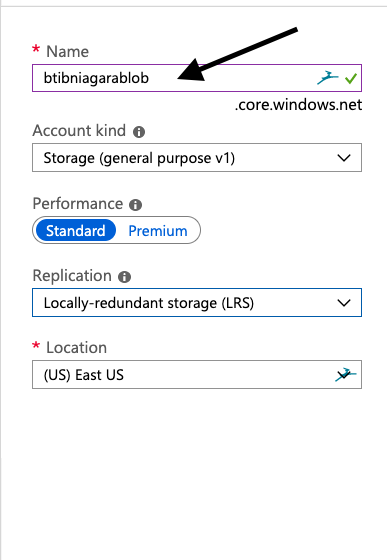
Give it a unique name and click OK.
-
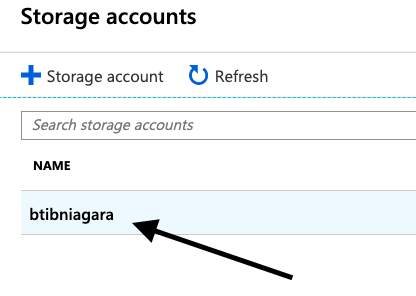
Then chose the storage account you created.
-
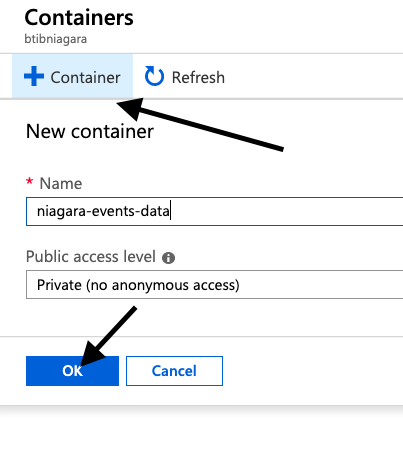
And Create a container for data.
-
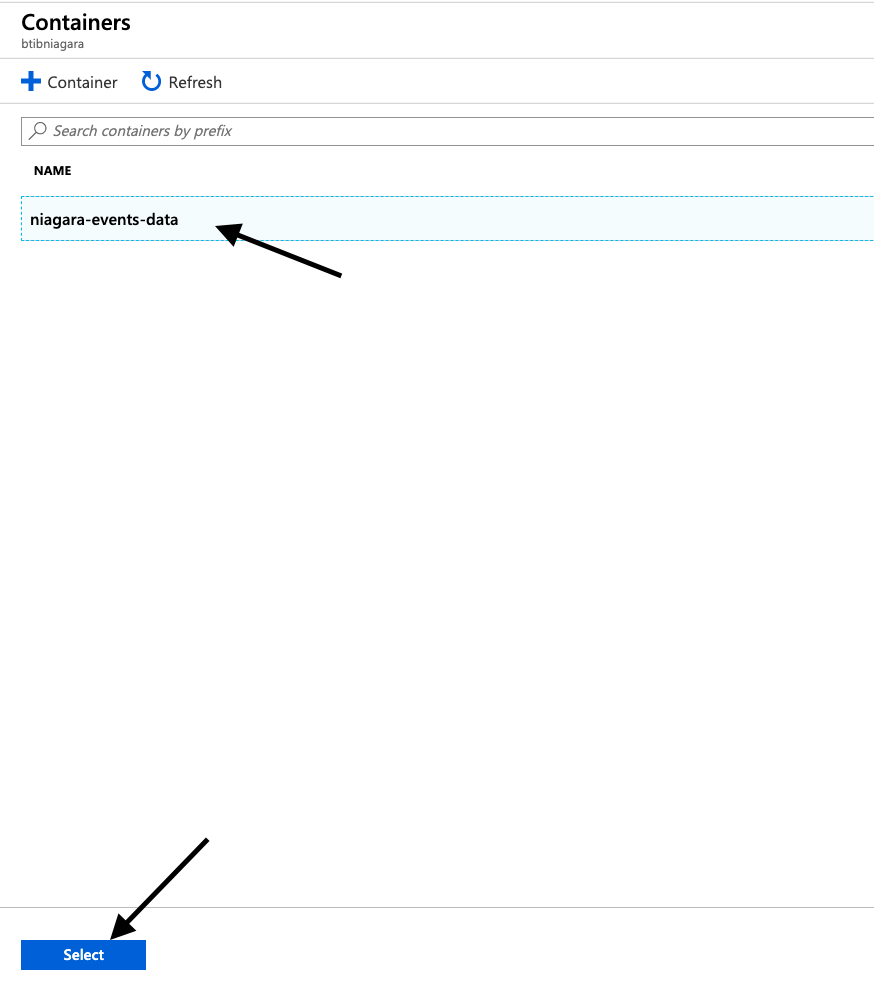
Choose the container then hit Select.
-
Choose the data format and click on create.
-
Your endpoint is created.

-
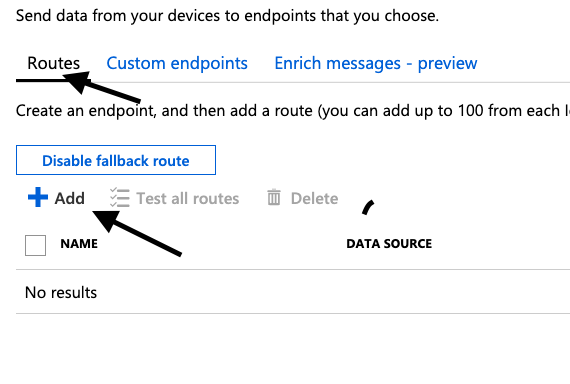
Now we will redirect all events to this endpoint.
-
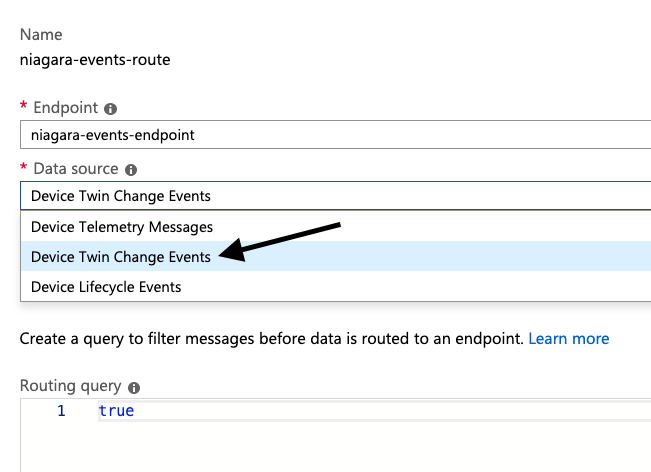
Go to the route tab and click add.
-
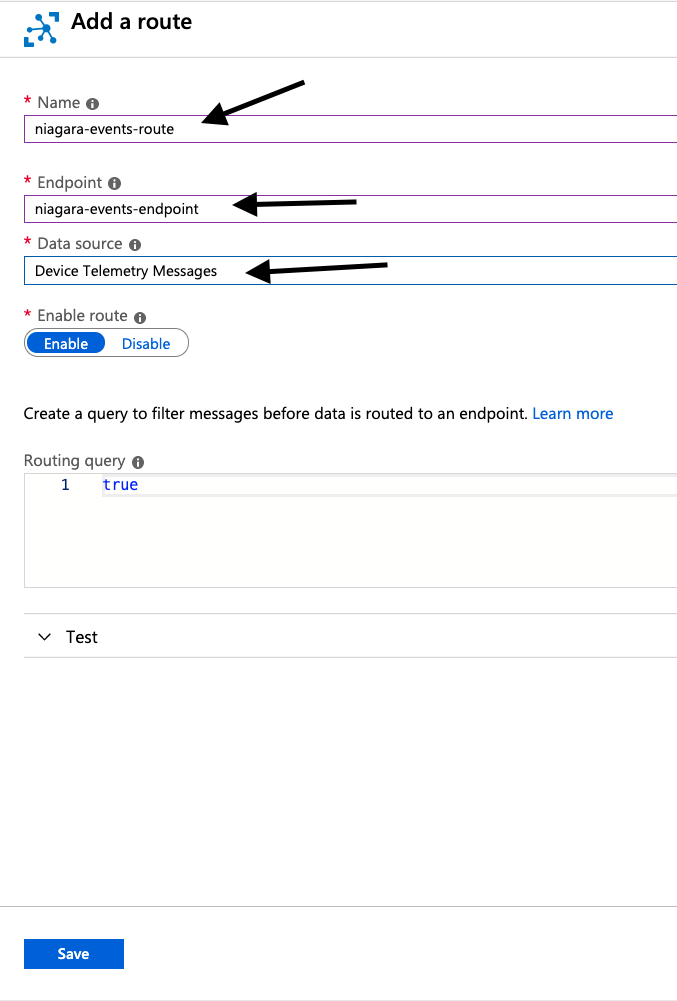
Give your route a name. choose the endpoint we created and choose Device Telemetry Message then hit Save.
-
Congratulation now, all the telemetry data are stored on the Azure Blob Storage.
-
For devices/points tags follow the same procedure and in the data source option choose Device Twin Change Events.