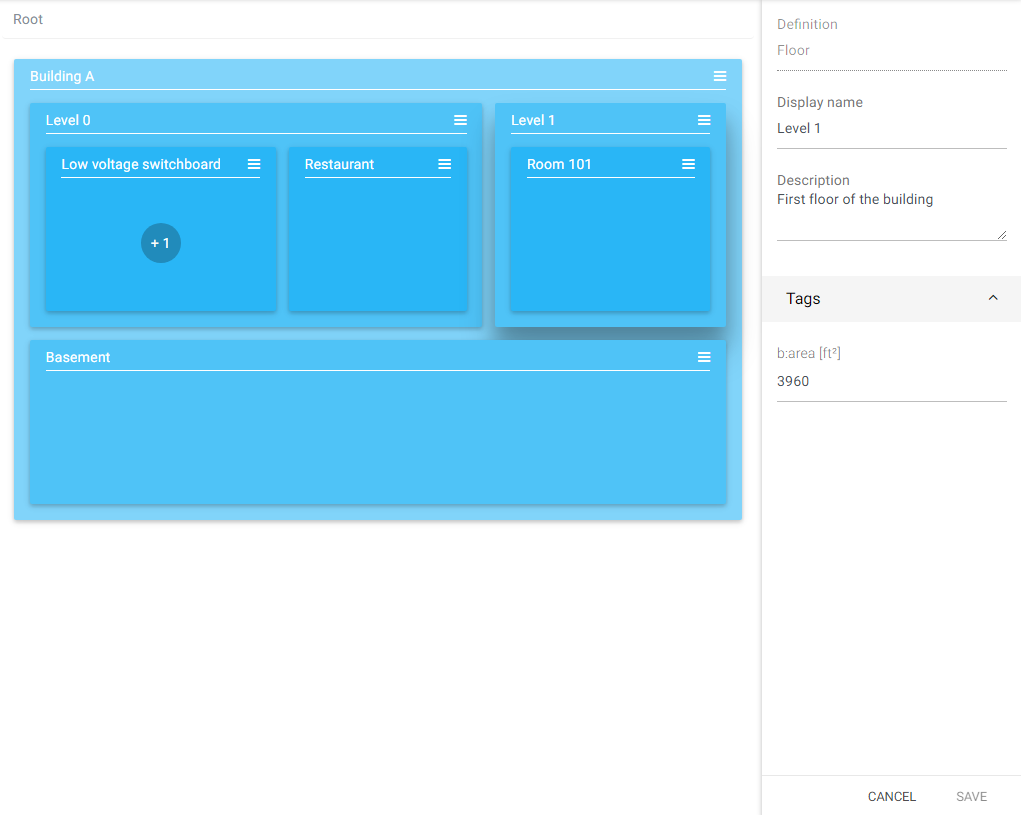
By clicking on a node (anywhere except on its name), the editing panel opens on the right. It allows the properties (tags and relations) of the Node to be edited. The edited Node is then highlighted via its shadow. It is necessary to save the changes to the Node via the button located at the bottom of the editing panel.
Example of editing the Node Level 1.
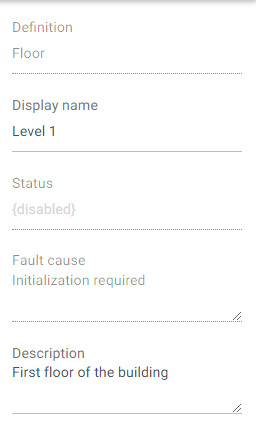
Status
When a Node is not in the "ok" state, its state is displayed in the right panel as well as the reason for the error.
Node Tags
The properties that appear in the "Tags" section of the right panel are the NodeTags entered in the definition associated with the Node.
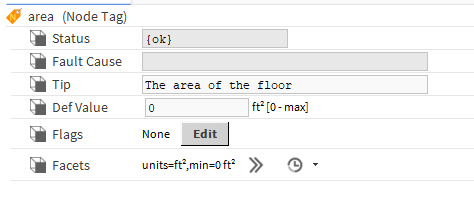
In the above example, a NodeTag "area" has been added in the NodeDefinition Floor.
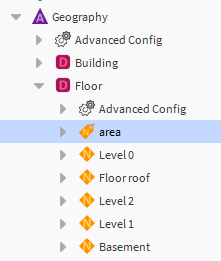
In the NodeTag Area property sheet, a default value and facets have been added. Same for the NodeTag Section
When editing the Node "Level 1", we find a NodeTag for "area".
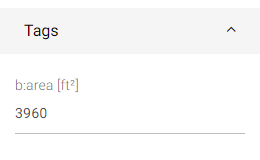
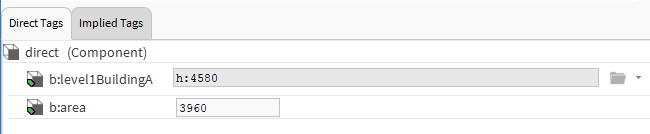
These values can be found on the Node by right-clicking -> Edit Tags.