
Before using the btibAWS IoT you must first have an AWS account, follow this link to do so: https://aws.amazon.com/premiumsupport/knowledge-center/create-and-activate-aws-account/
Setup API Key
Niagara needs an API key to access AWS IoT Services and manage devices:
-
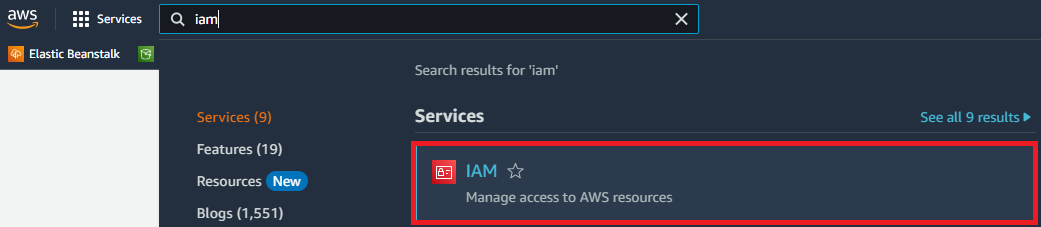
Go to the IAM service on the AWS console.
-
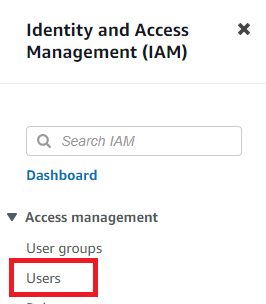
Then Users
-
Click the Add Users button

-
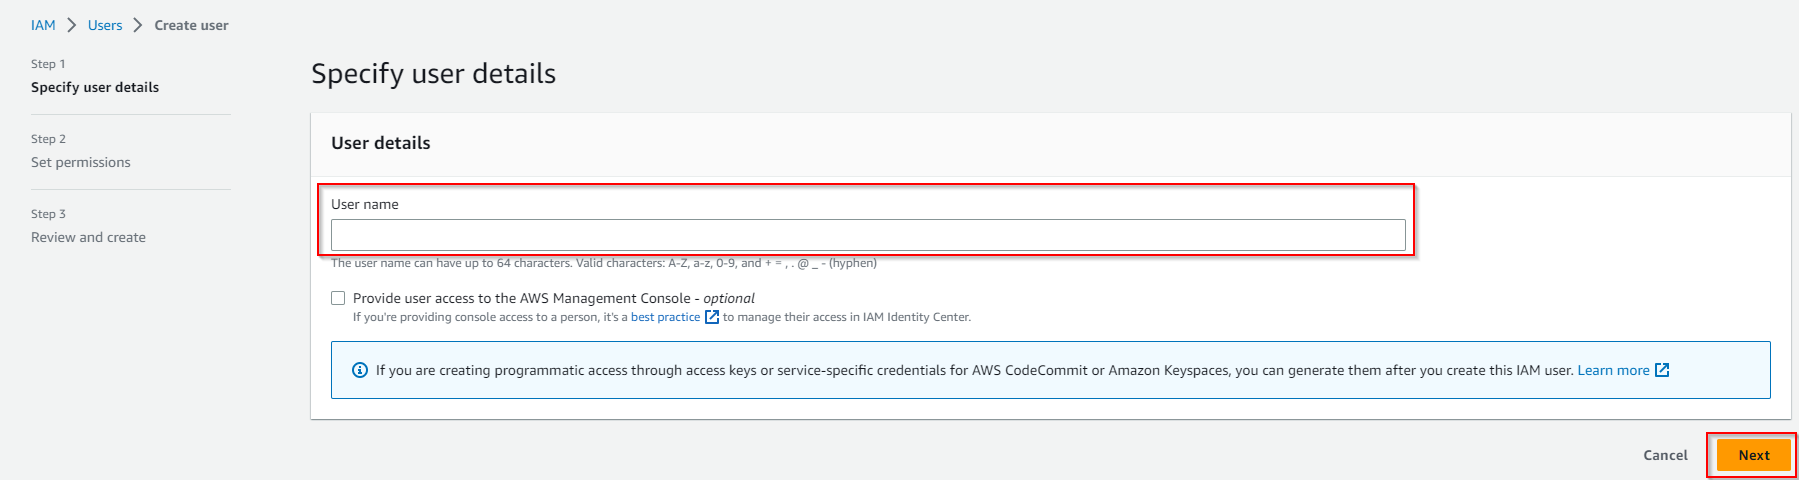
Give a username to your user, then click next.
-
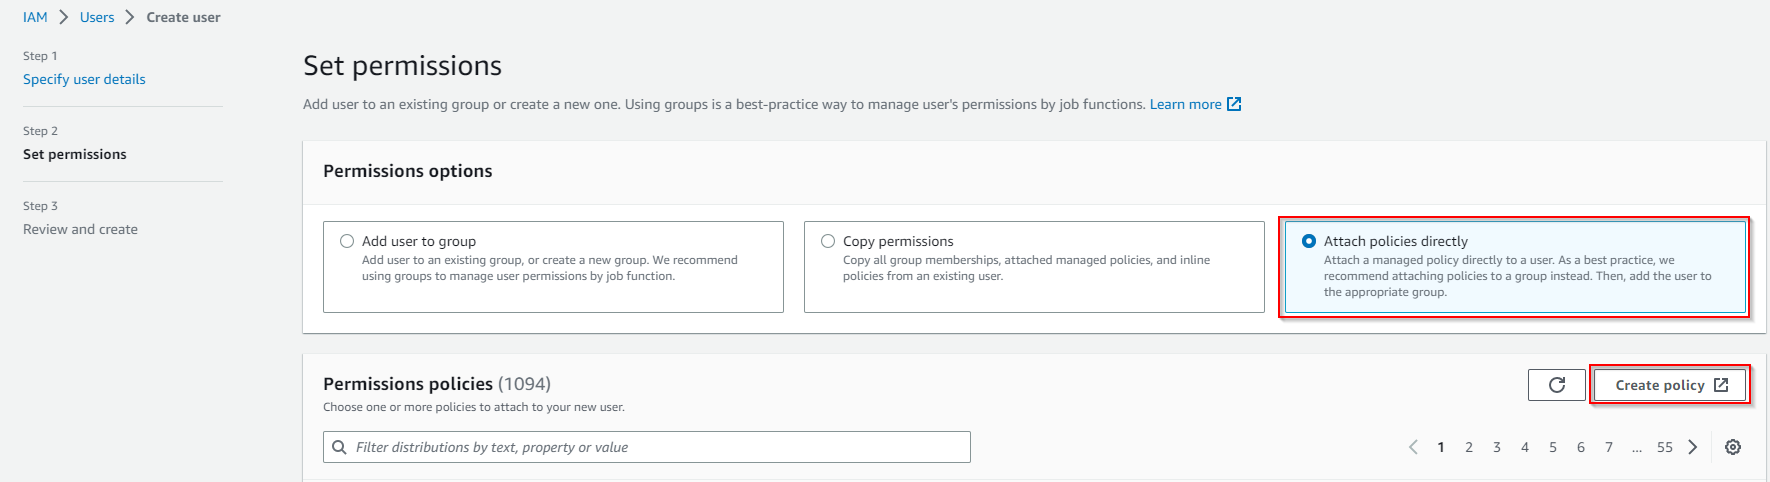
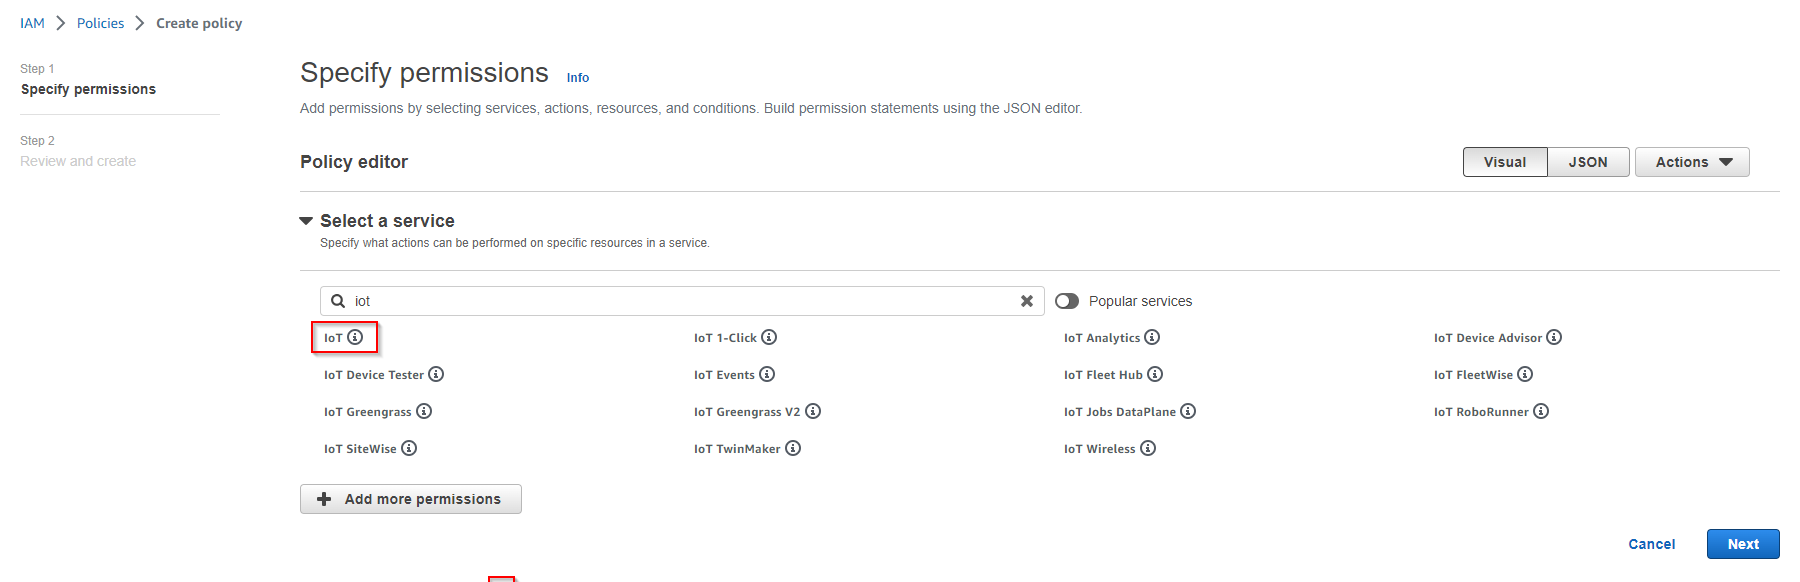
Then Attach policies directly, Then hit Create policy. A new tab will open.
-
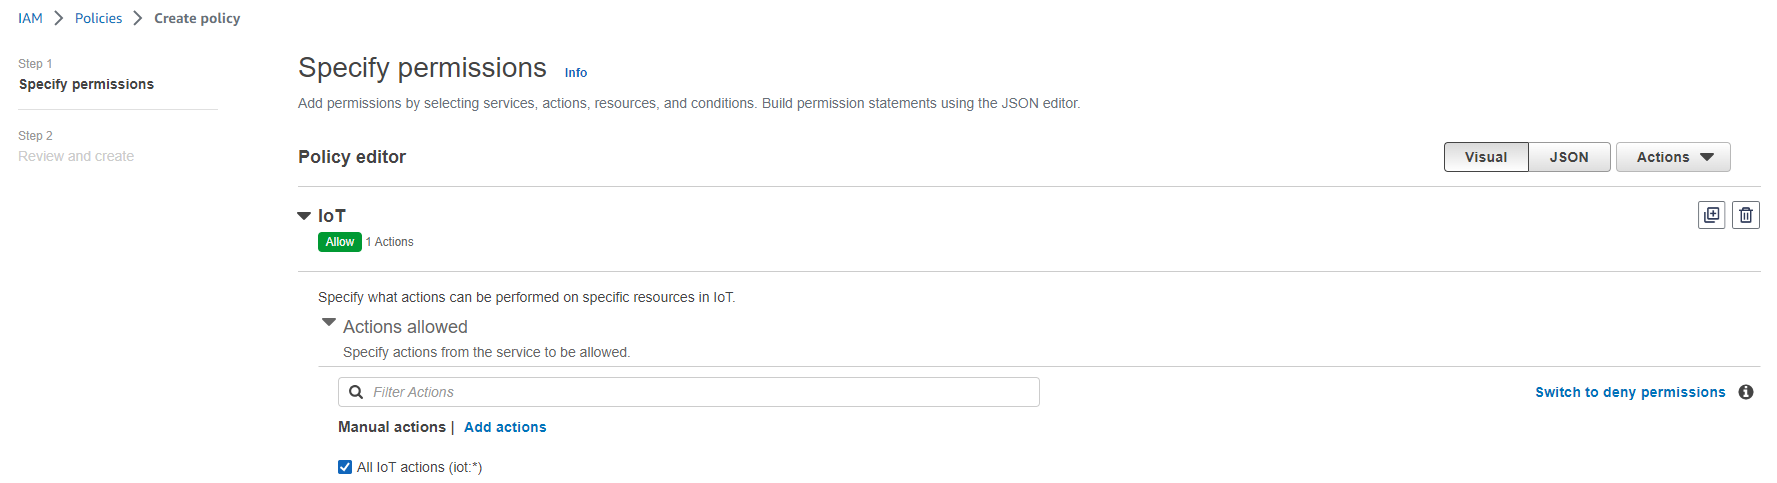
Select the Iot service
-
Allow All IoT actions
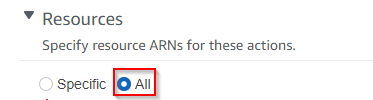
-
Allow All resources, then hit Next
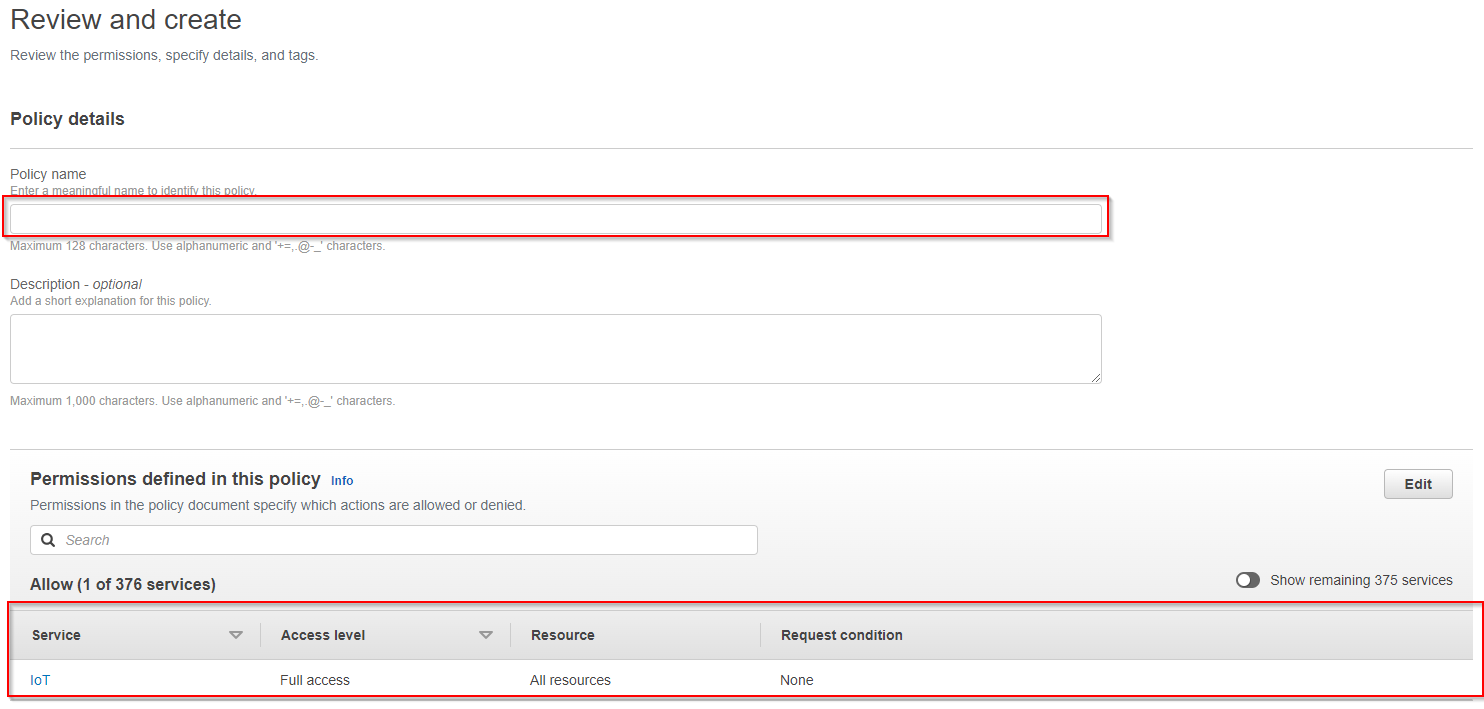
-
Give your policy a name, make sure that you have full access on the summary. finally hit Create policy
-
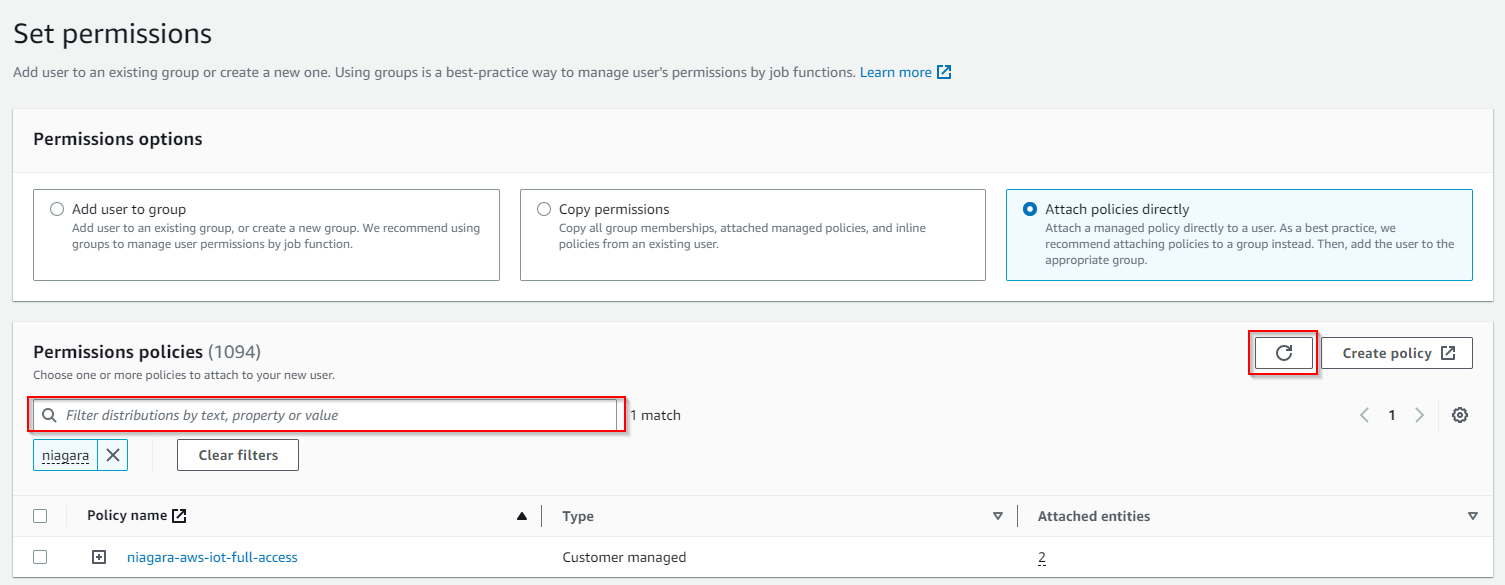
Now go back to the "Add user" page hit refresh (top right), look for your policy on the search field, select it and click Next.
-
Add tags (optional). Then hit Next
-
Finally hit Create User.
-
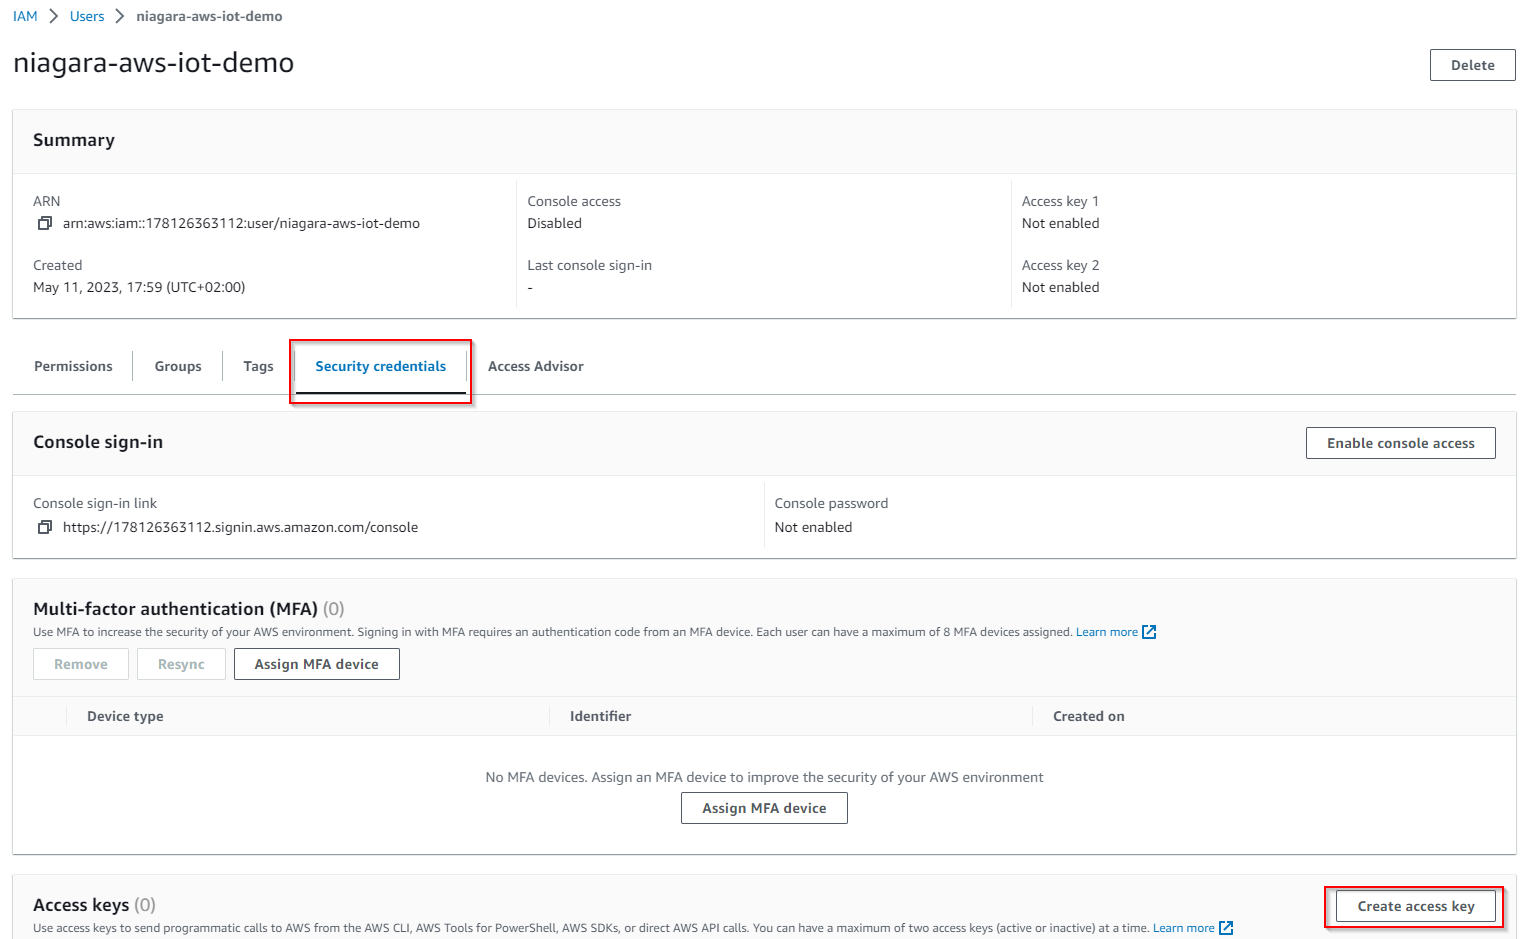
Your User was successfully created. Click on View user

-
Go in the Security credentials Tab and create an access key
-
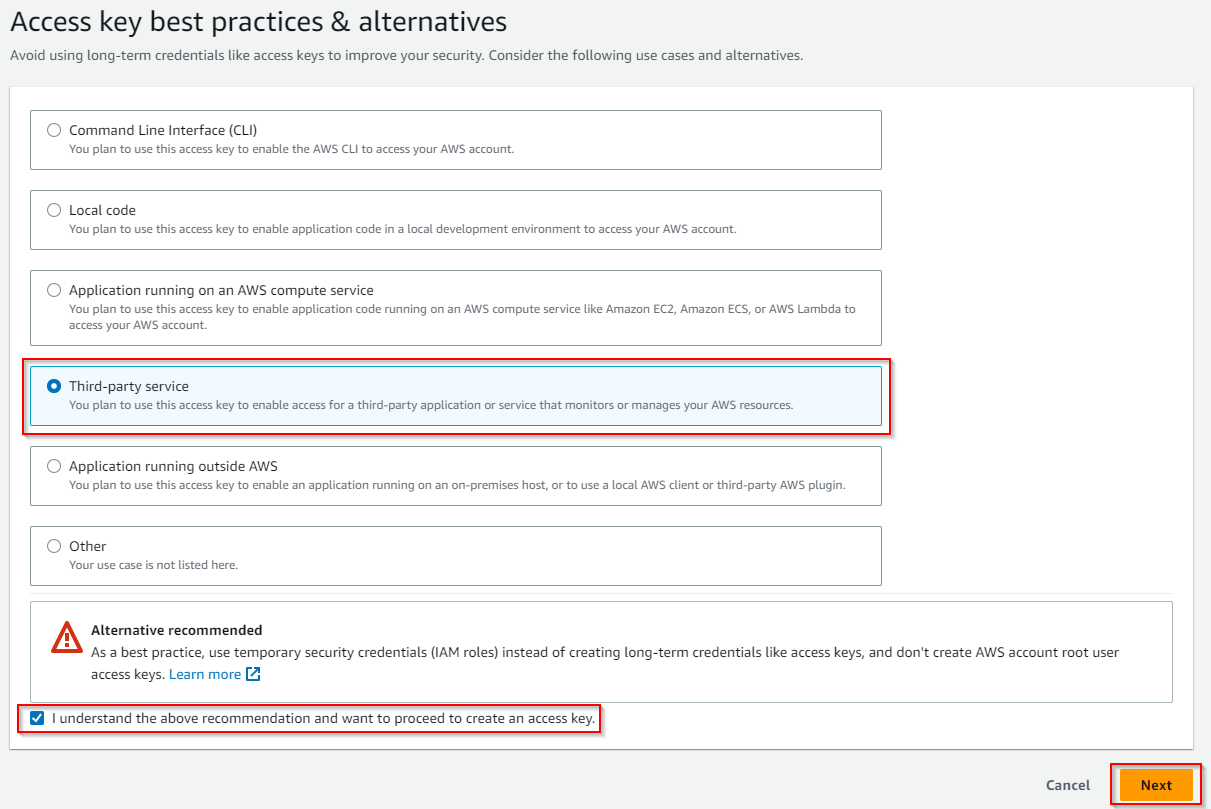
Select Third-party service, check the "I understand..." checkbox and click Next
-
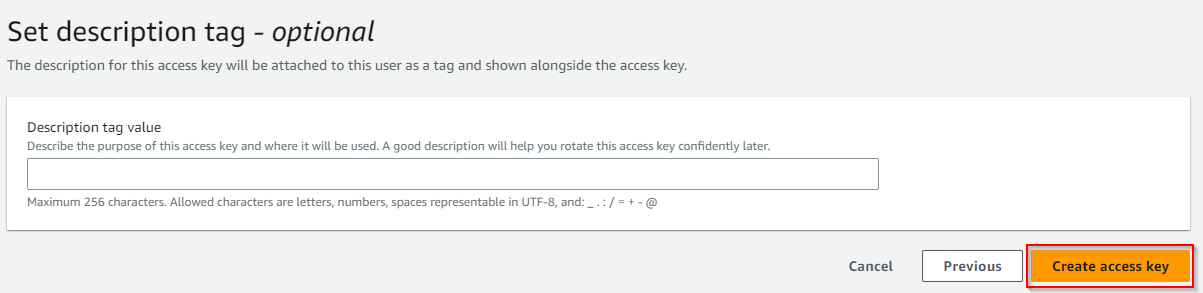
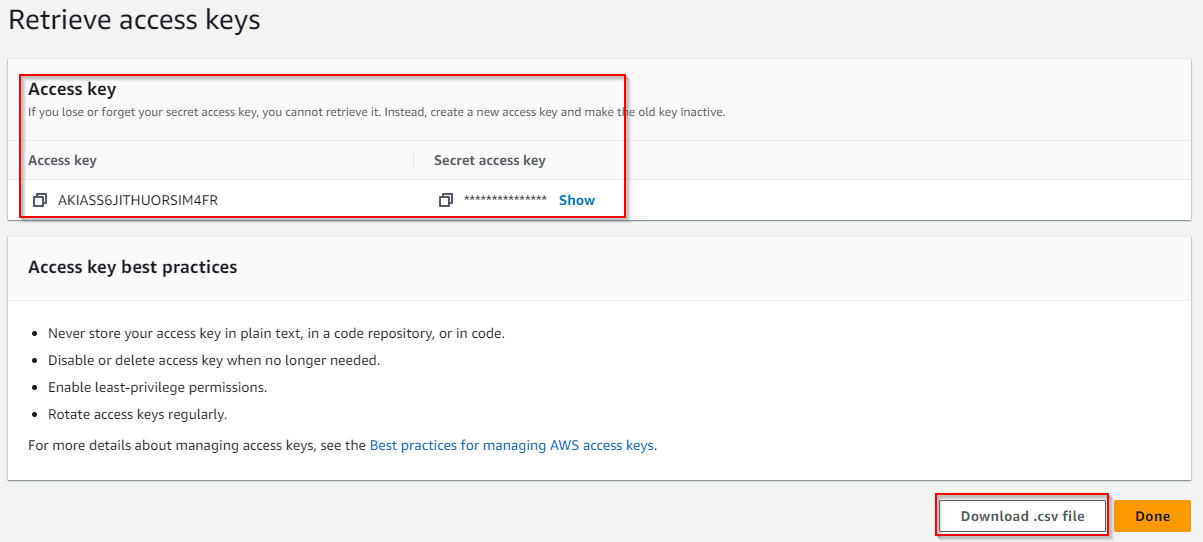
Click on Create access key
-
Retrieve you Access keys (either copy paste your values or download the .csv file). Keep them they will be needed to setup the connector in your workbench
Setup Devices certificates
AWS uses Asymmetric keys for device authentication and authorization.
To create a key pair and a certificate follow these steps:
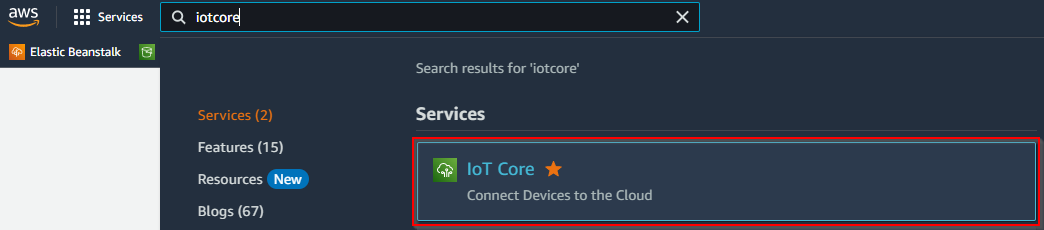
-
Go to the IoT Core service on the AWS console.
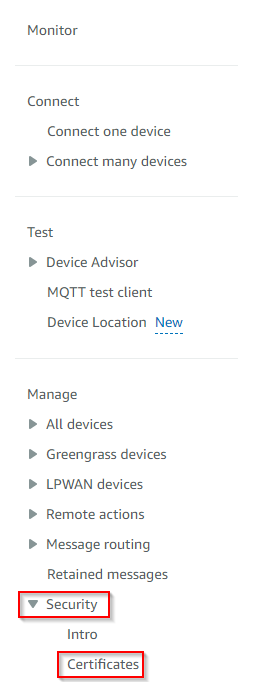
-
Then security → Certificates
-
On the top right corner hit Add certificate.

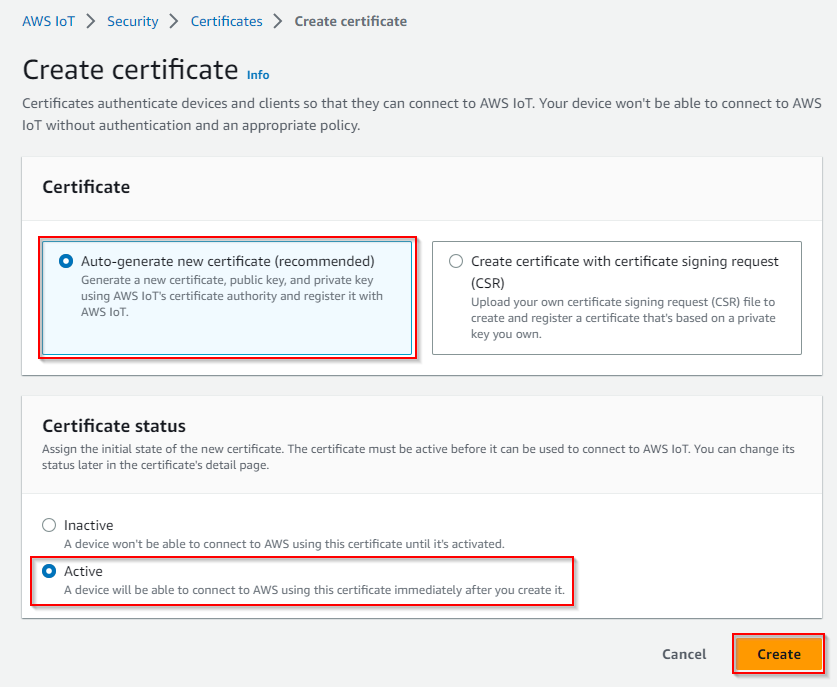
-
Then Select Auto-generate new certificate, select Active and hit Create
-
Download the certificate, the public key (optional) and the private key

-
You will also need the AWS CA key file, you can download it here: VeriSign-Class 3-Public-Primary-Certification-Authority-G5.pem.
-
Now go to Security > Policies and hit Create Policy
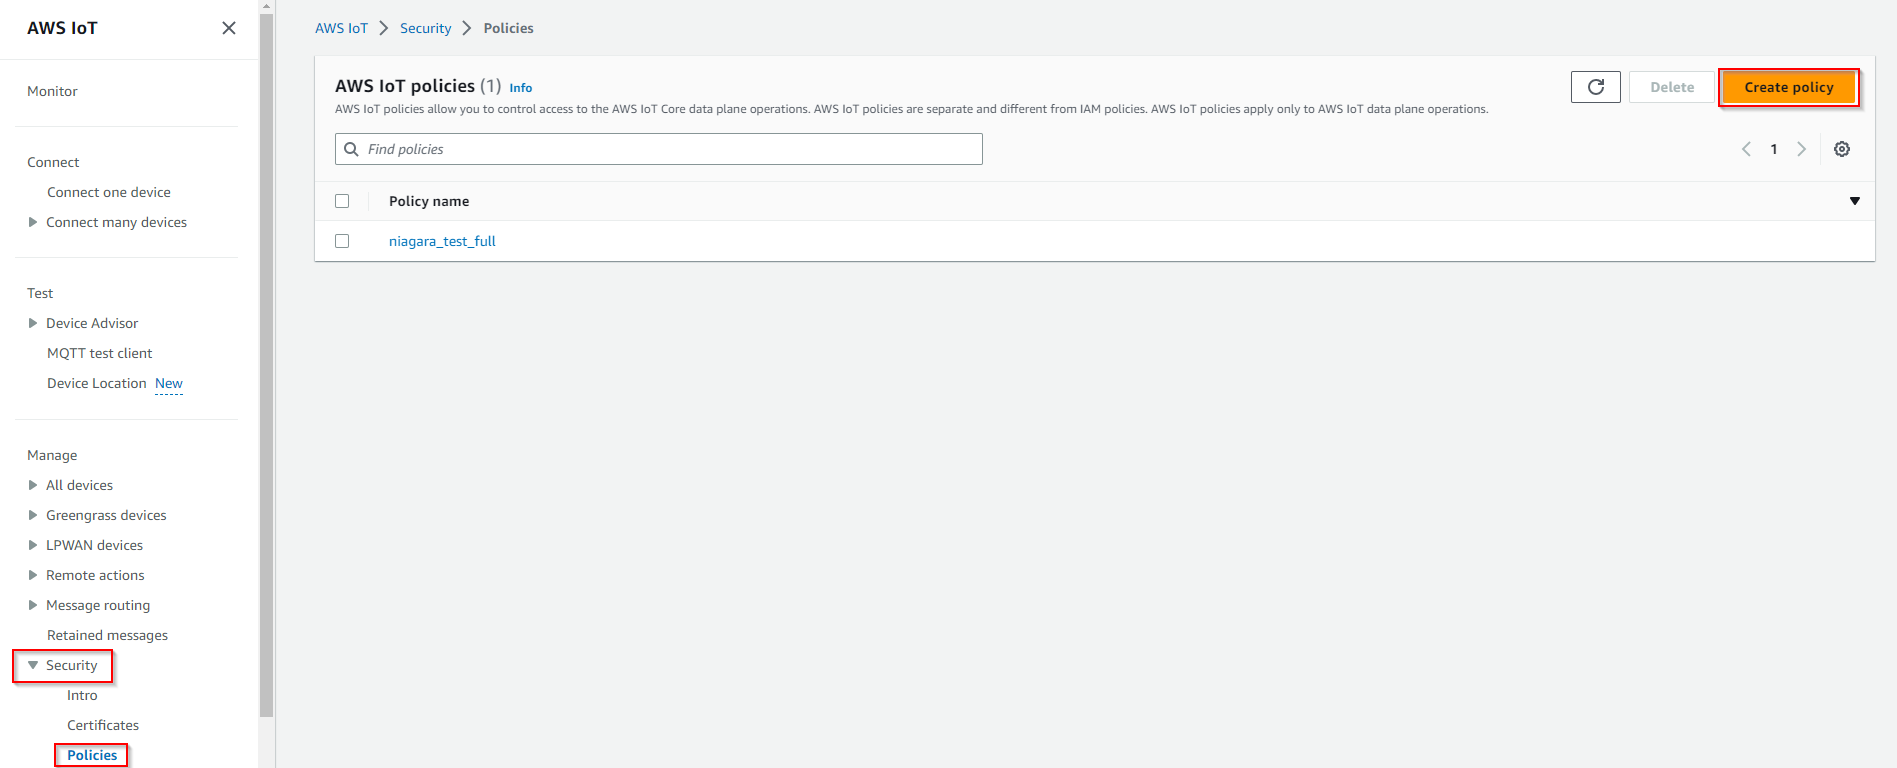
-
Give your policy a name. select the "Allow" policy effect, and put "*" in the policy action and policy resource. Then hit Create
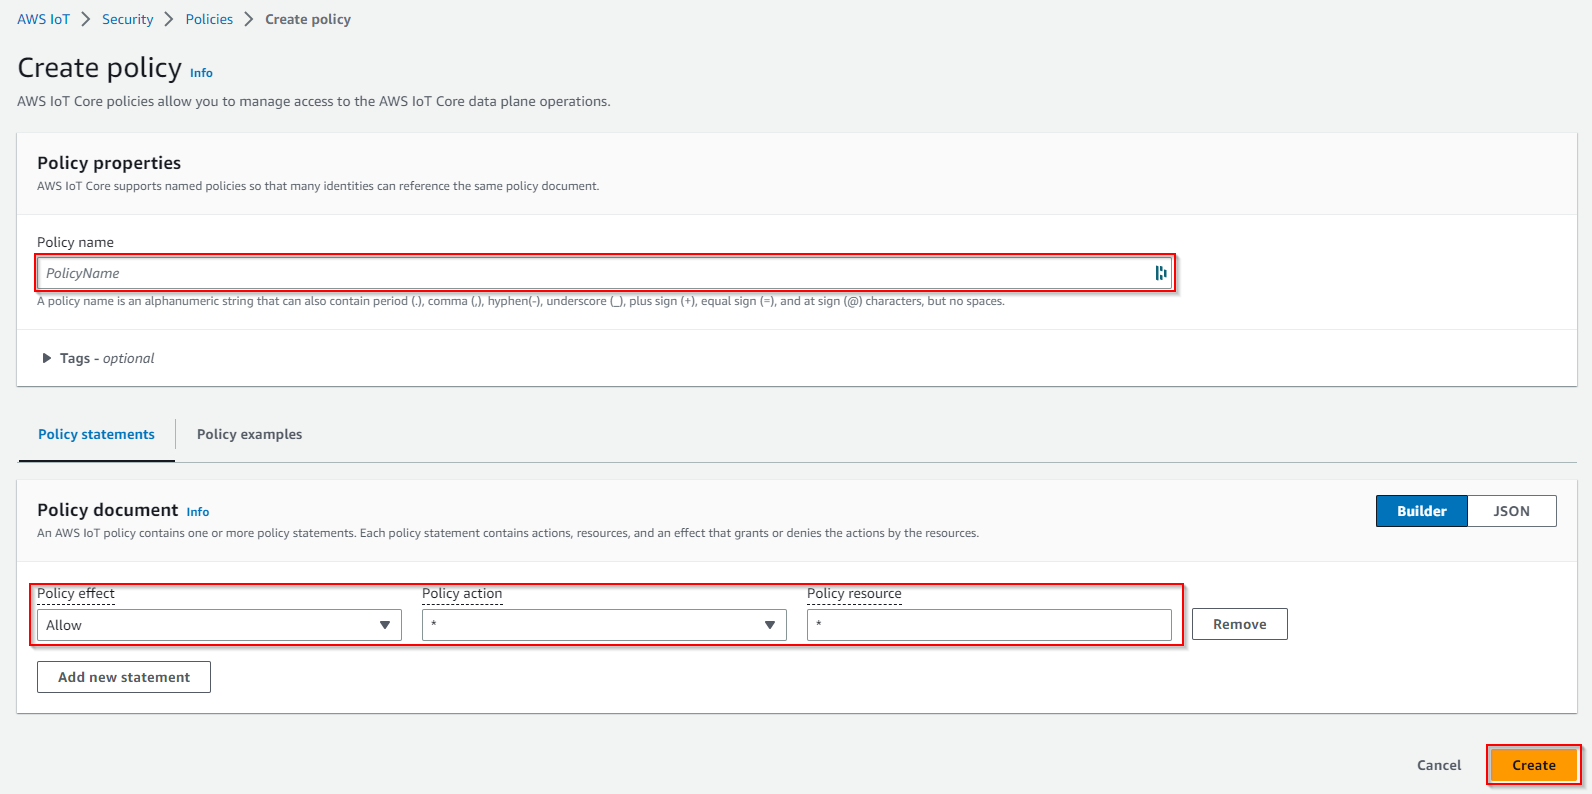
-
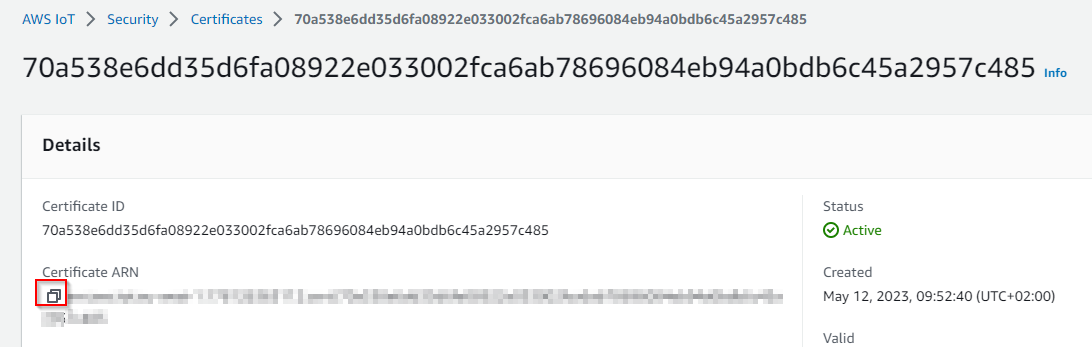
Go back to certificates. Choose the certificate you created earlier (check the date).
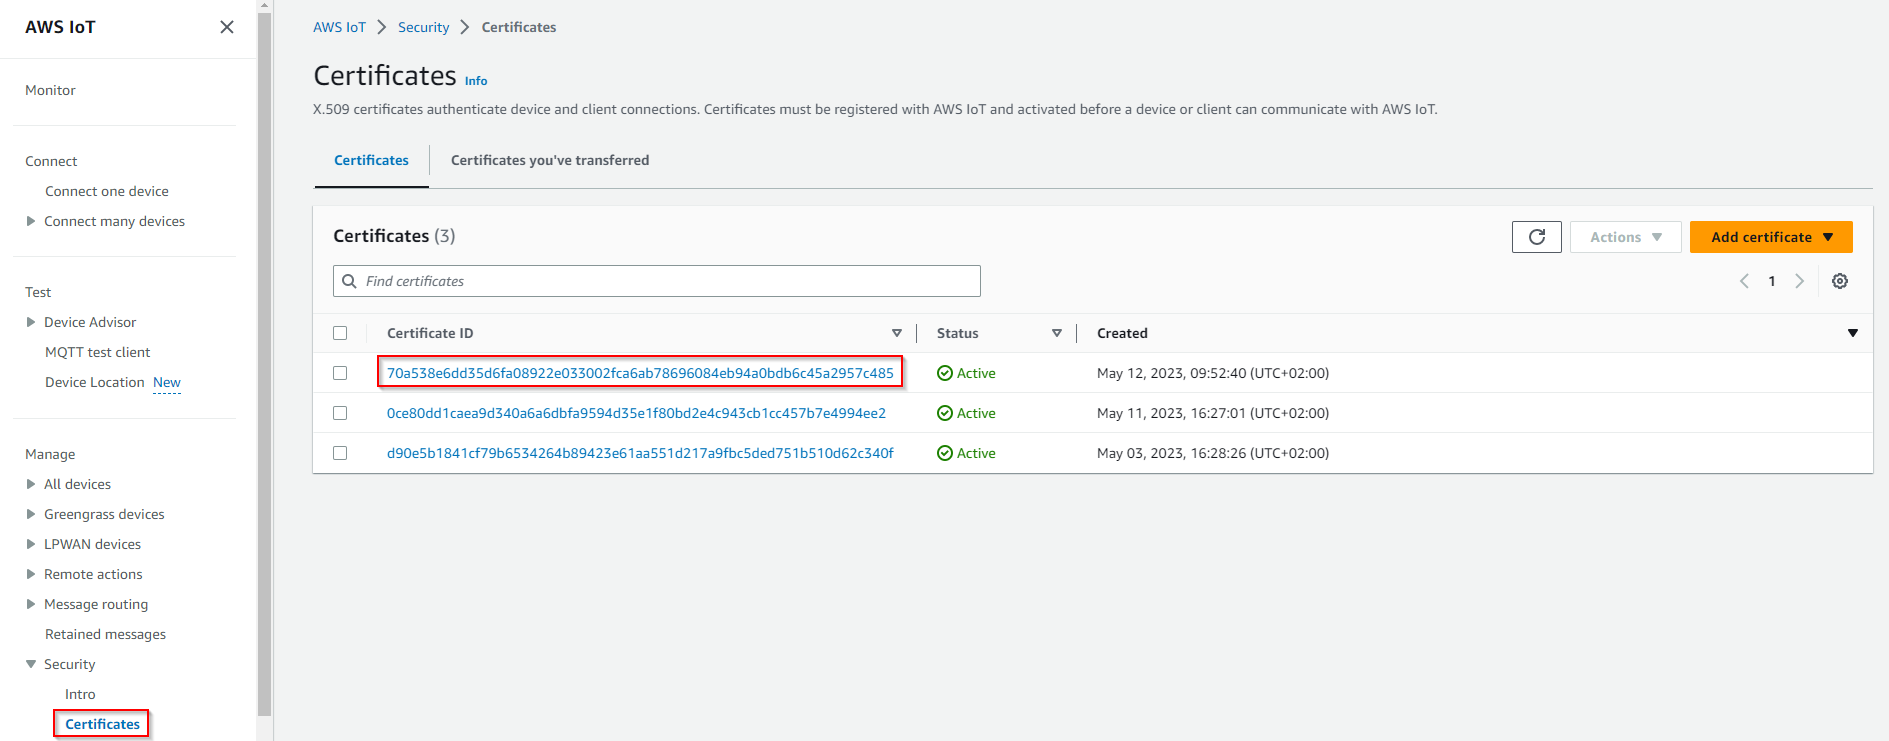
-
Under Actions select Attach policy

-
Select your policy then hit Attach.
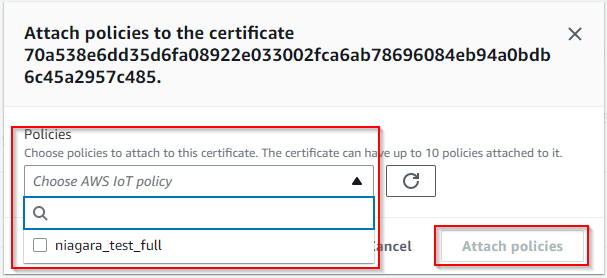
-
Now note down your certificate ARN, we will need it later.
API endpoint
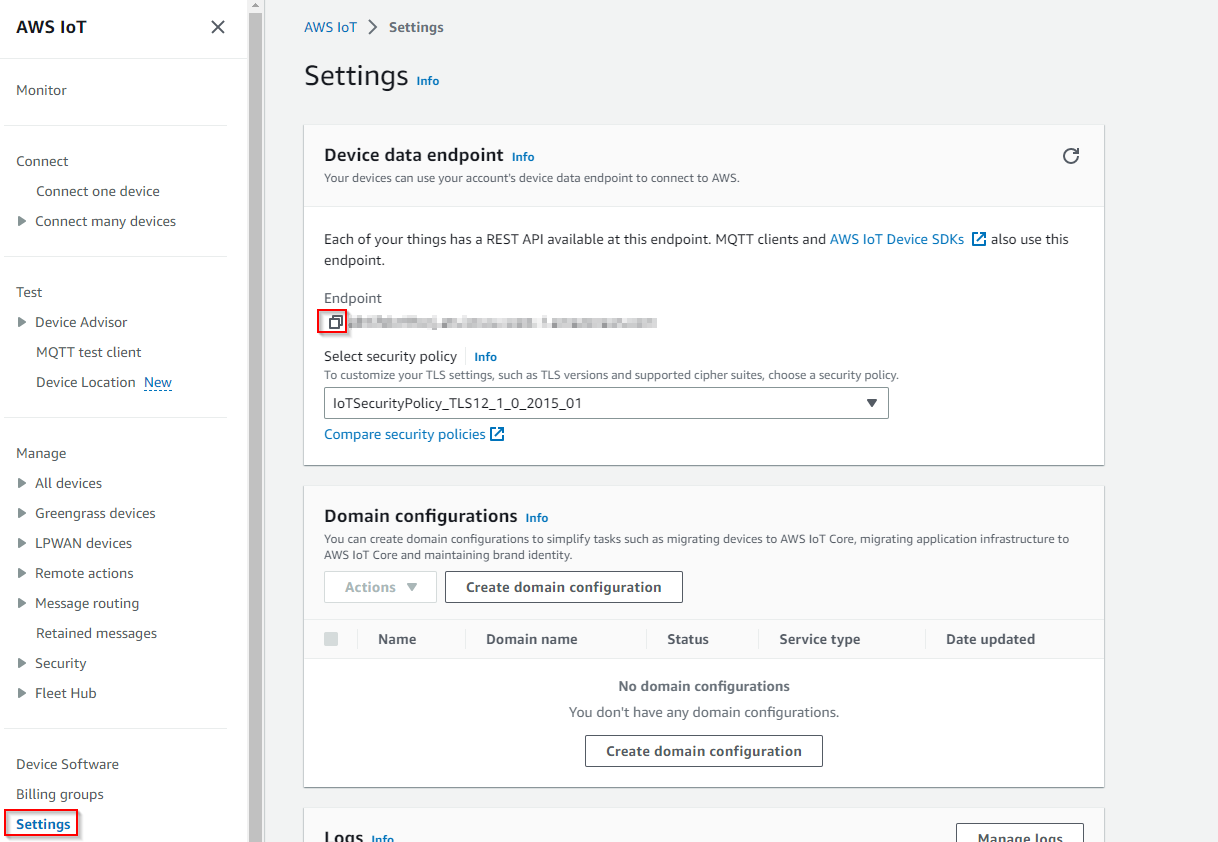
Finally you will need your API endpoint
To find it follow these steps:
-
Go to the IoT Core service on the AWS console.
-
Go to Settings, and copy paste your endpoint
Recap
Let's recap, after all theses steps you should have 6 things:
-
The credentials csv file for AWS user that contains the client access id and secret.
-
The certificate file.
-
The private key file.
-
The public key file (optional).
-
The AWS CA key file.
-
The ARN certificate
-
And last but not least the API Endpoint
Congrats !!! You finished the AWS setup go to next step:
Next Step
Step 2 Set up AWS connector for devices points and references