Step 2 Set up AWS connector for devices points and references
In this step you will setup the AwsIoTconnector to connect Niagara to AWS.
Set up the connector
- Open the btibAWS palette.
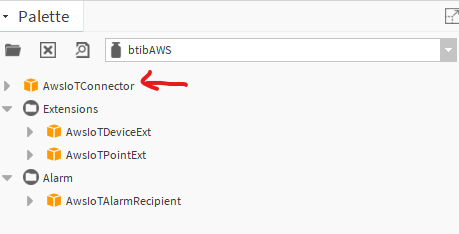
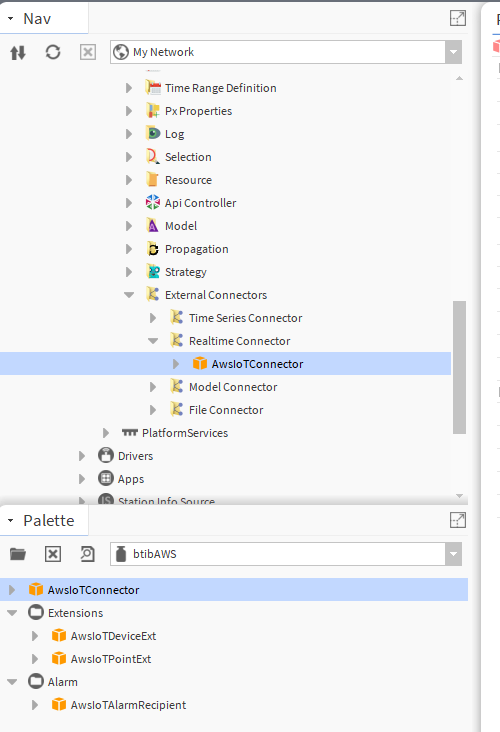
- Drag and drop the connector on the btibService→ ExternalConnectors → RealtimeConnectors folder.
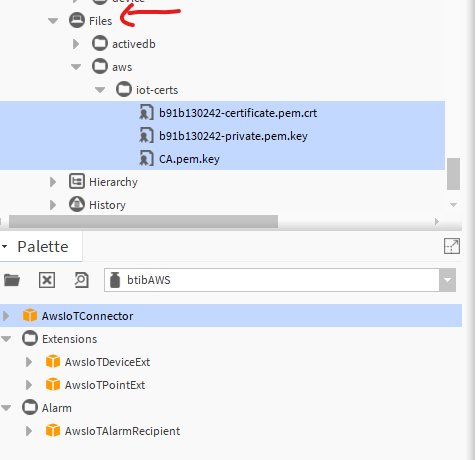
- Copy the certificate, the private and the CA certificate to your station files.
- Configure your connector.
- Add an AsymmetricKeysAuthentication from the palette to the AuthenticationSchemes slot. Fill the slots with Ords targeting your certificates and key.
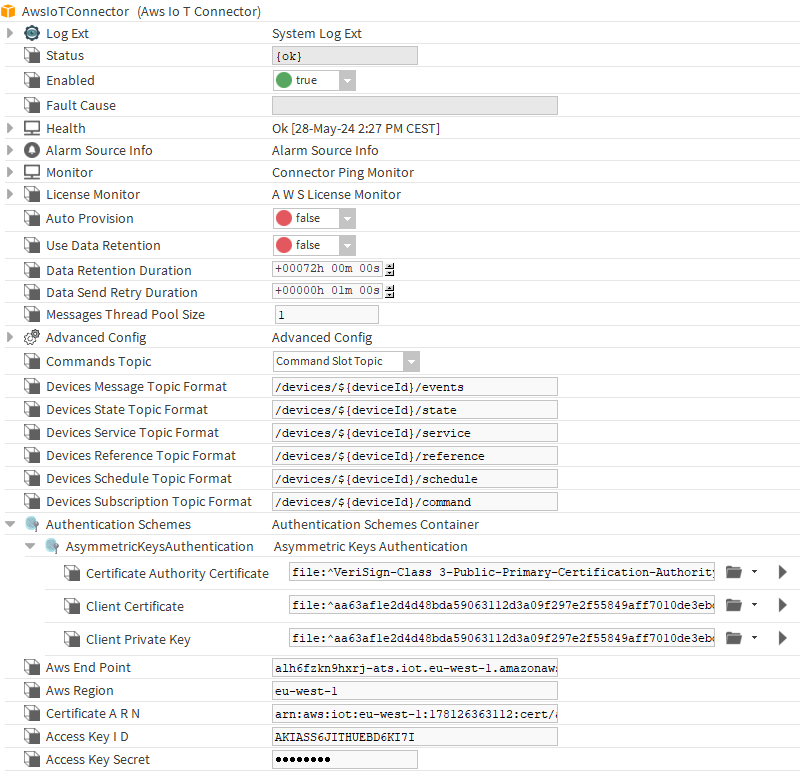
Set Auto Provision to False - Fill-in the AWS Endpoint
- Fill-in the AWS region
- Fill-in the ARN certificate you saved before
- From the credentials csv file you can get your access key and secret.
- Finally enable the connector, you should see a successful status
- Add an AsymmetricKeysAuthentication from the palette to the AuthenticationSchemes slot. Fill the slots with Ords targeting your certificates and key.
Device setup
Now the connector is ready, you coud configure your devices and points.
To do so:
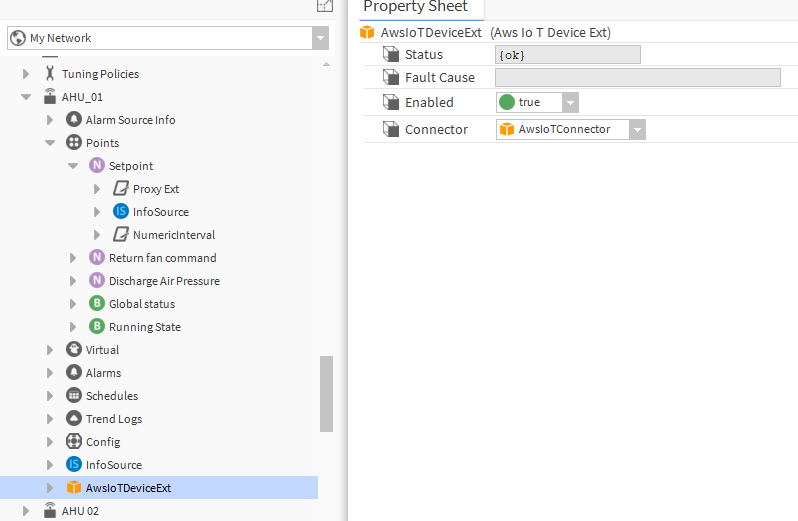
- Go to Drivers → <your network> → <your device> and drag and drop the Aws IoT Device Ext to any point container (it may be a folder).
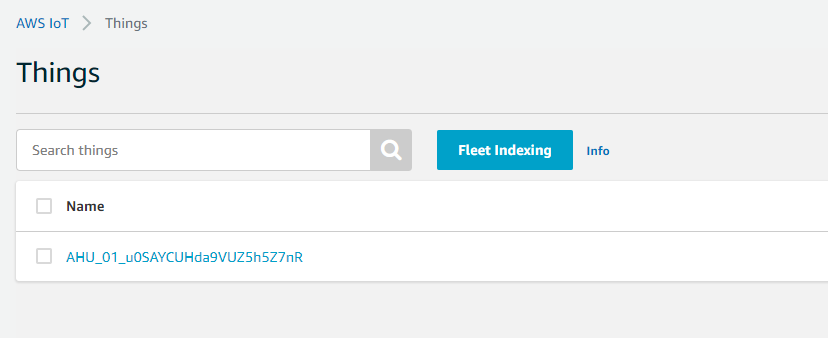
- You should see your device on the AWS console.
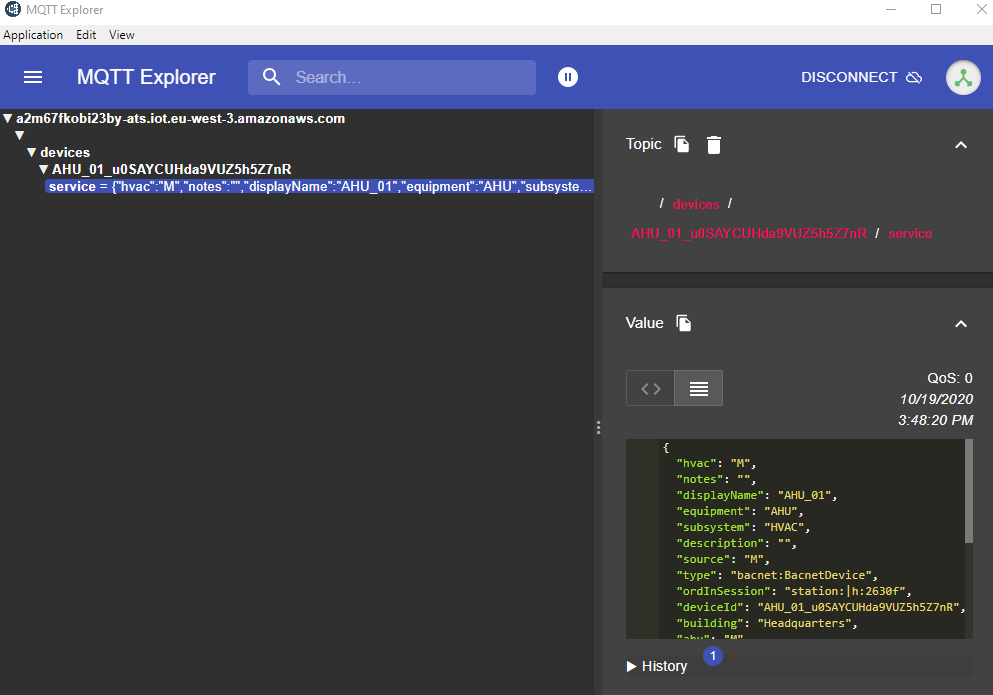
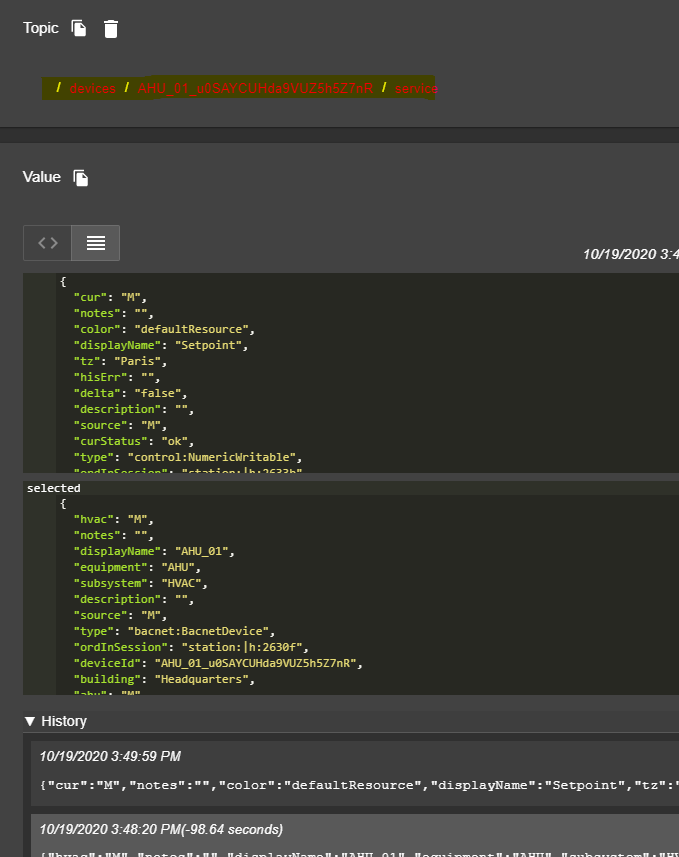
- Use any mqtt client to inspect messages, you should see tags published under the service topic corresponding to the device
Point Setup
- Now drag and drop the Aws IoT Point Ext in your point.
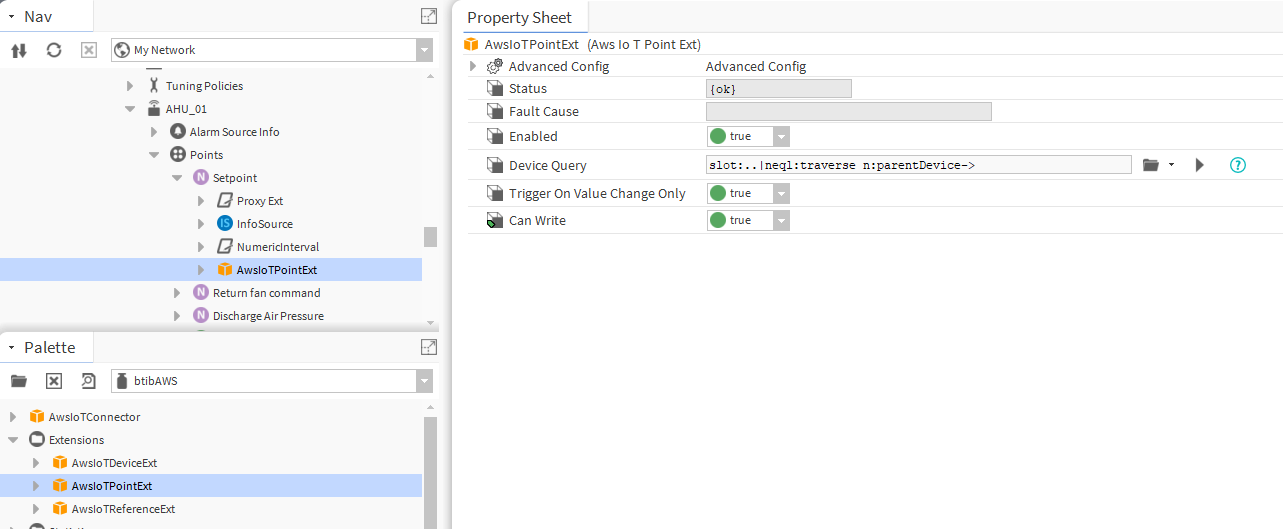
- On your mqtt client you should see the tags for the point published on the service topic and a message on the events topic
Reference Setup
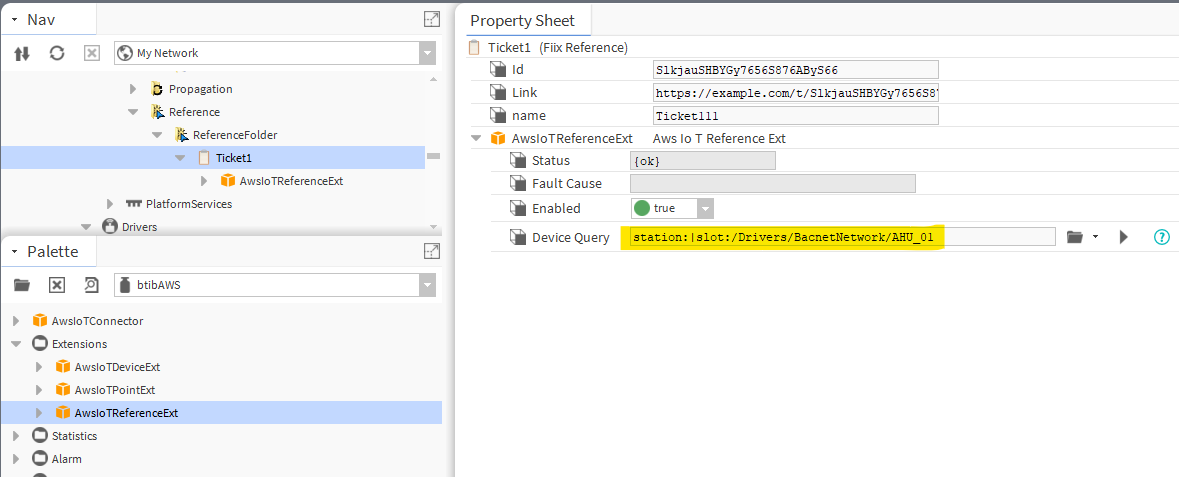
- Drag and drop the reference extension to the reference component. And sepecify the query for the device to connect to.
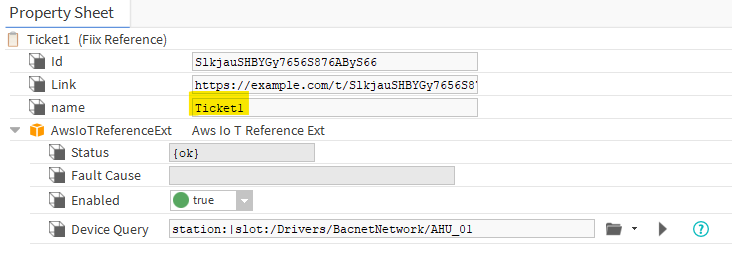
- change any reference property.
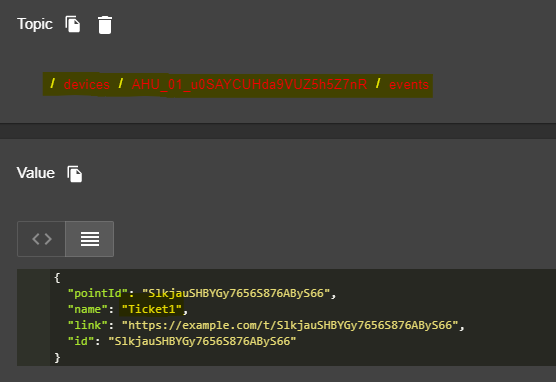
- And you should see the event.
Next Step
Step 3 Send messages to AWS from Niagara
